Sequence Dart: Replacing the Seals
Much to my displeasure, my Sequence Dart started gushing water out of the area where the pump's drive shaft was located. After contacting Sequence Dart for assistance, they quickly shipped out replacement seals free of charge.http://www.reeflopumps.com/
Installing them wasn't as easy as I'd hoped, and thus I decided I might as well document the process for others that wish they had some pictures to go along with the instruction sheet provided.
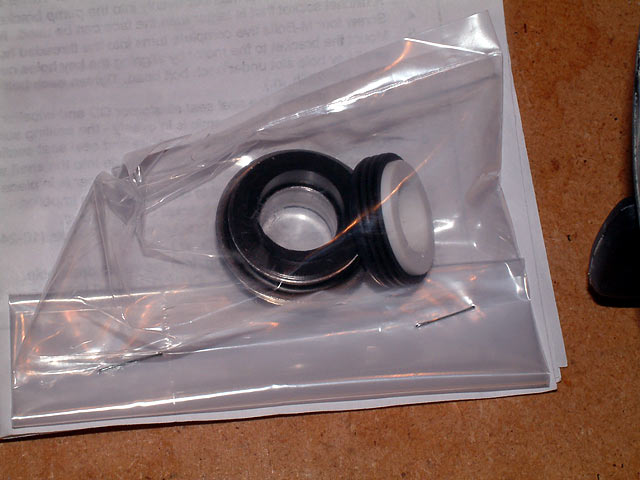
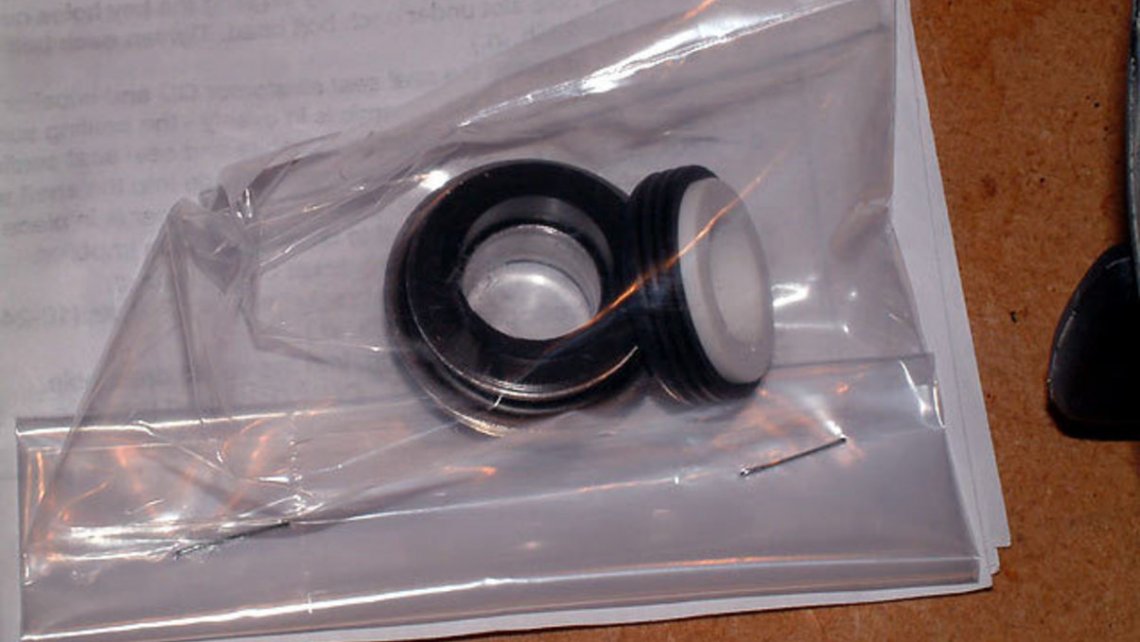
The new seals arrived, bagged and stapled to the instruction sheet.
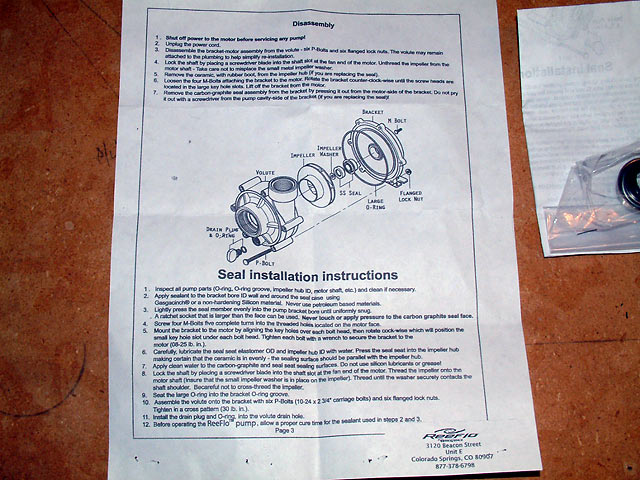
I read them over carefully before I began to gather up the tools I'd need.
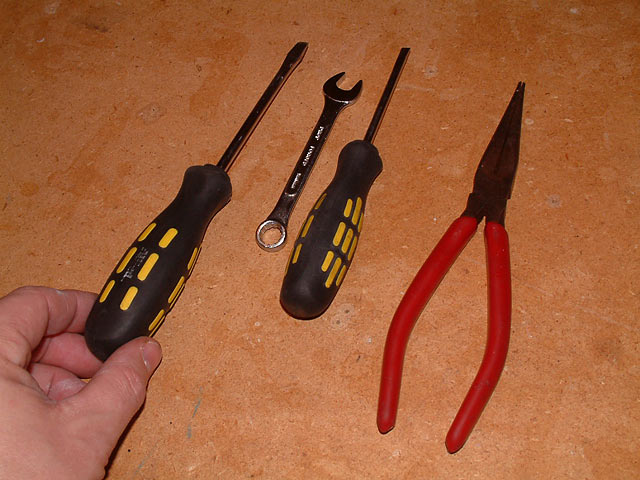
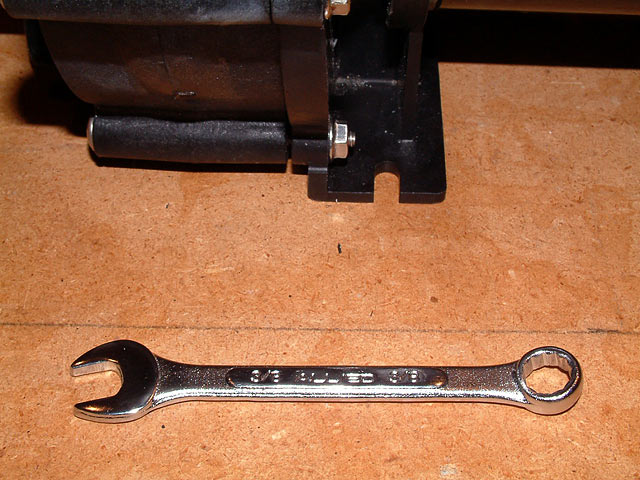
Two flat-tipped screwdrivers, a 3/8" wrench and needlenose pliers were needed.
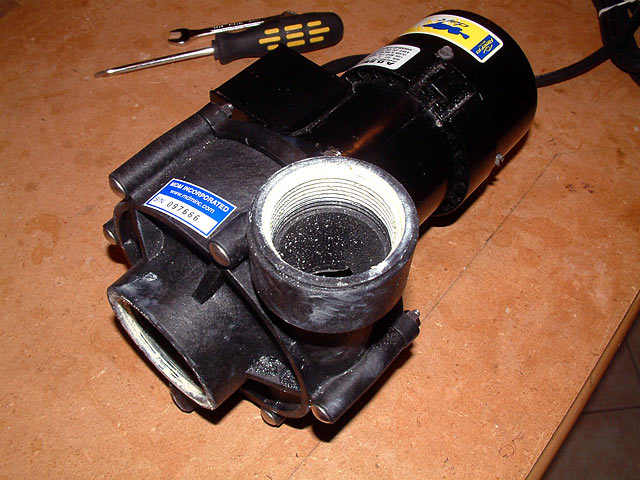
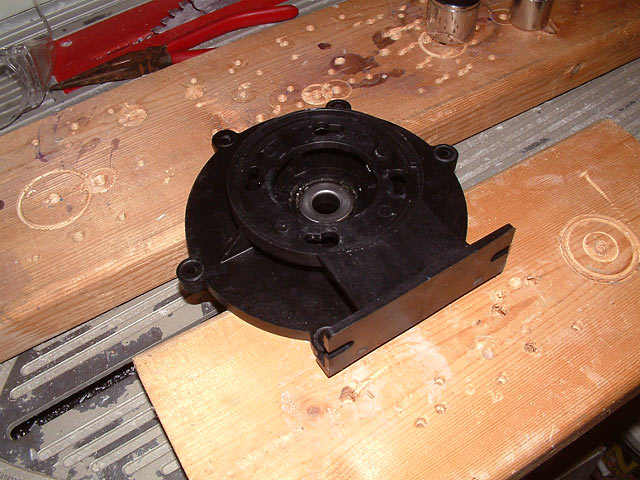
The pump was moved to my workspace, and I proceeded to remove the six nuts that hold the impellar housing together.
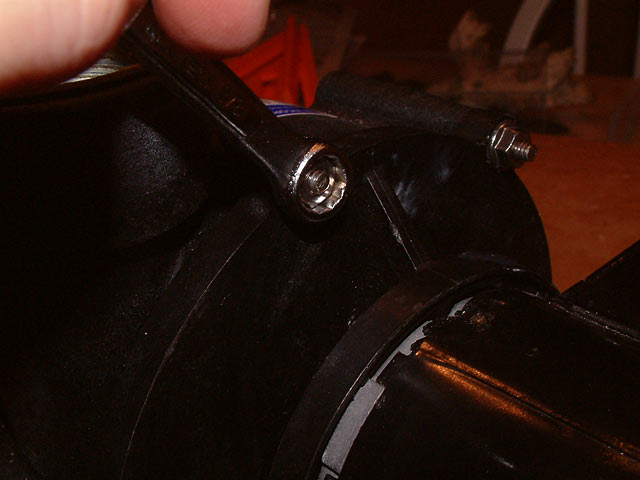
Using the 3/8" wrench, I carefully removed each one as well as the matching bolt. Once done, the cover came off.
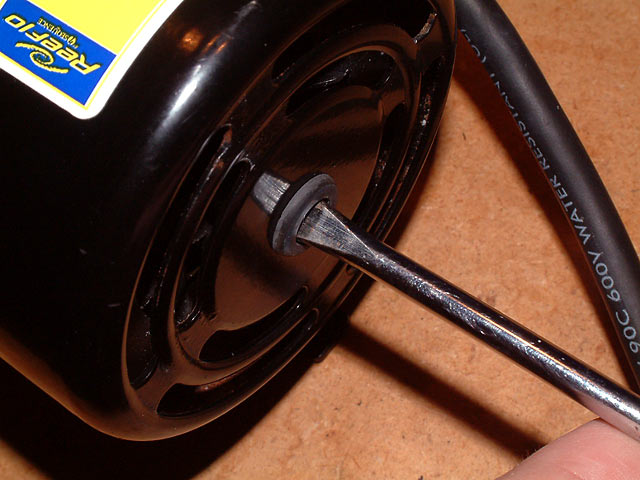
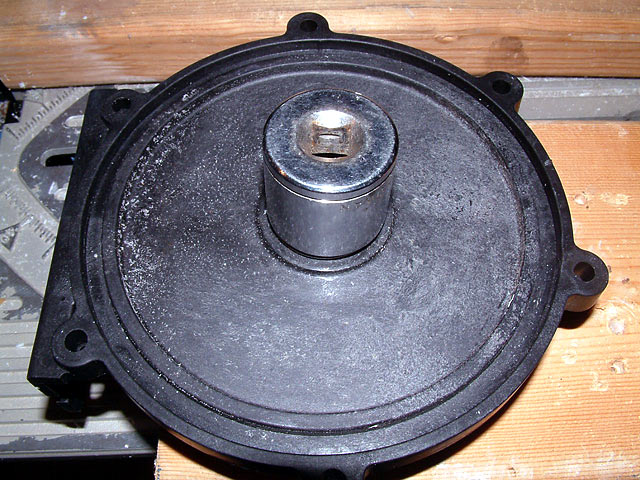
Next the instructions state to insert a screwdriver in the end of the pump so as to be able to unscrew the impellar by hand.
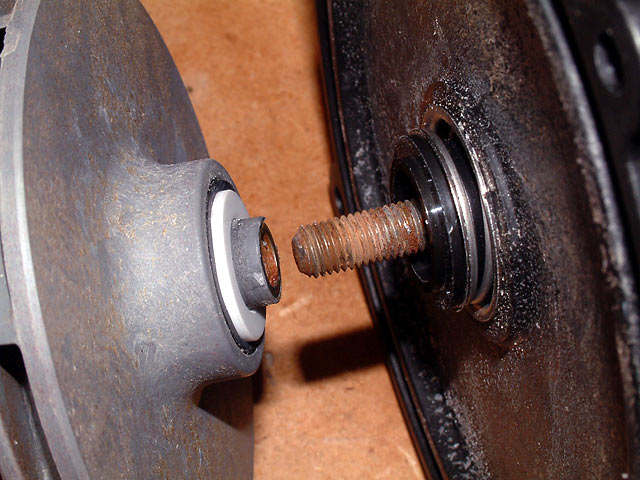
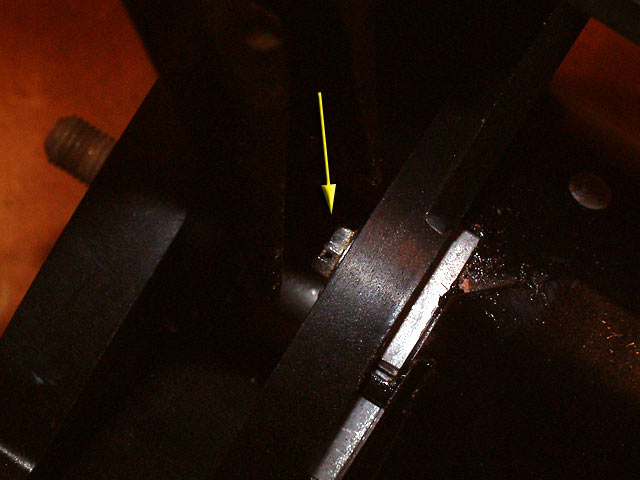
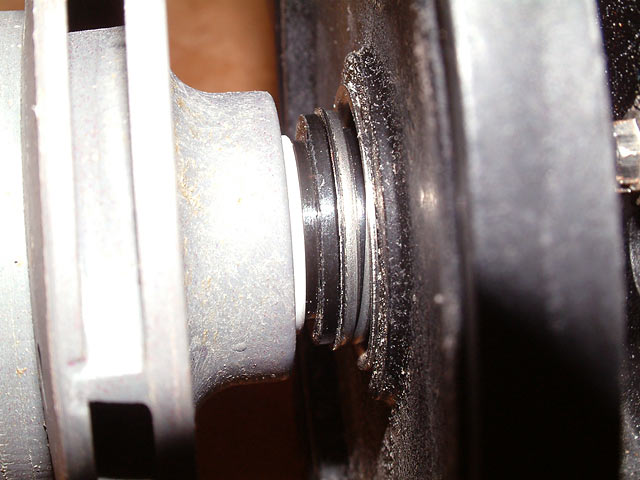
Once it was removed, I was now ready to remove the ceramic bearing and rubber plug.
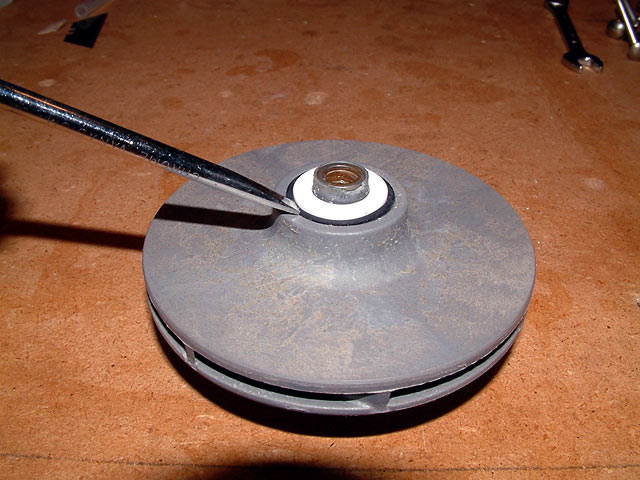
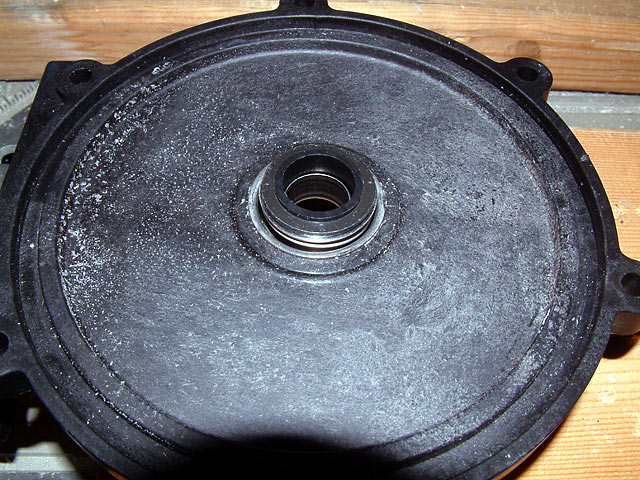
Please note that you should not lose the metal washer (dead center in the image above). Using the screwdriver, I was able to pry up the white bearing and the rubber around it.
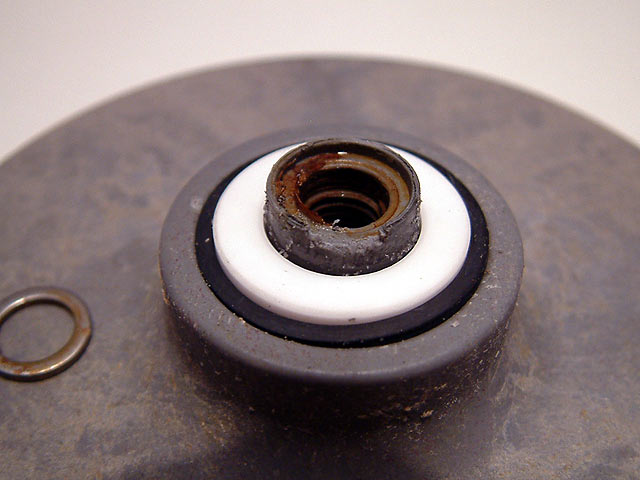
In this picture, you can see how I damaged the center, and now the metal washer is clearly visible (to the left). When I first tried to extract the bearing, inadvertentely a small piece of gray plastic snapped off. Be careful.
Next I had to remove the back plate of the impellar housing from the pump. Four screws hold it in place, and they are almost impossible to get to. Using needlenose pliers, carefully grip them and loosen them a bit at a time. It makes you wonder what tool or machine they use to tightened them in the first place.
At first I thought you had to completely unscrew these four screws, but I discovered there are keyholes on the back of that plate, which makes this task a little easier.
Once I figured out the keyholes existed, I was relieved that I didn't have to work those screws out completely after all.
If you loosen all four screws a little, that should be enough to twist the black section slightly to remove it from the pump, as seen above.
In this picture, you can see how the screws are still in the pump's body, and the section we just removed is freestanding.
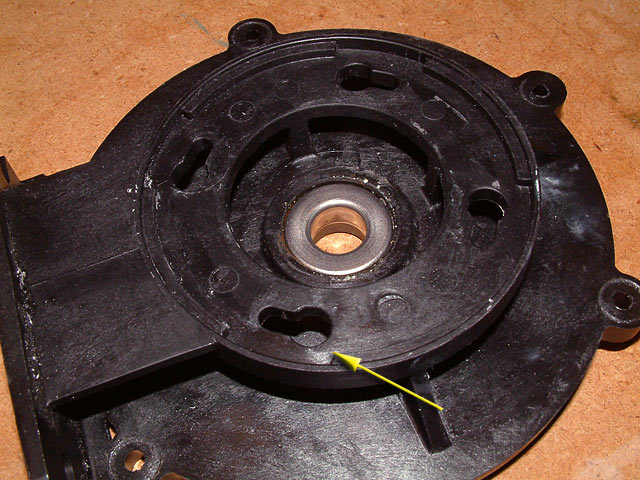
The next step is to remove the old seal in the back plate, and to do so you need to support the plastic section but leave clearance under the seal so as to be able to tap it out.
The back plate is facing down, keyholes visible.

A 13/16" socket fit perfectly. It was placed on the surface of the seal, and I tapped once or twice to make it pop out between the two boards..
After that was done, I flipped over the black plate so as to be able to insert the new seal, o-ring side up.
This time I used a 1" socket to drive the seal down into the plate, making sure it was flush. One or two taps with the hammer should suffice.
The aluminum section is now fully seated in the backing plate, and the spring & seal are undamaged in the process.
Reassemble the pump
Aligning the four screws in the keyhole slots, I made sure the body of the pump was oriented correctly with the plate to make sure it stands properly on its feet before proceeding.
The four screws were carefully tightened with the needlenose pliers. Odds are a 6 mm wrench would do the job, but I didn't have one handy.
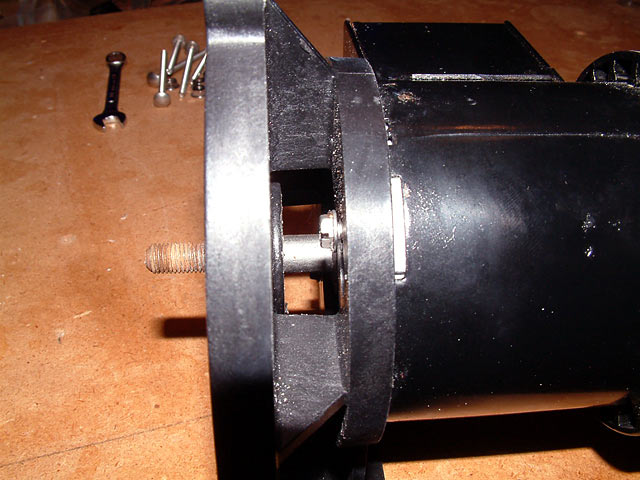
To screw the impellar back on, place the screwdriver back in the end section, then handtighten the impellar on the shaft.
It screws on clockwise.
Once done, it should look like this, and spin freely.
Frankly, it is amazing to me that this works. The white bearing spins against that spring-loaded opposing bearing, and water stays in the pump in the process. As you spin it by hand, you'll see the spring & bearing moving a fraction to and fro, always maintaining contact.
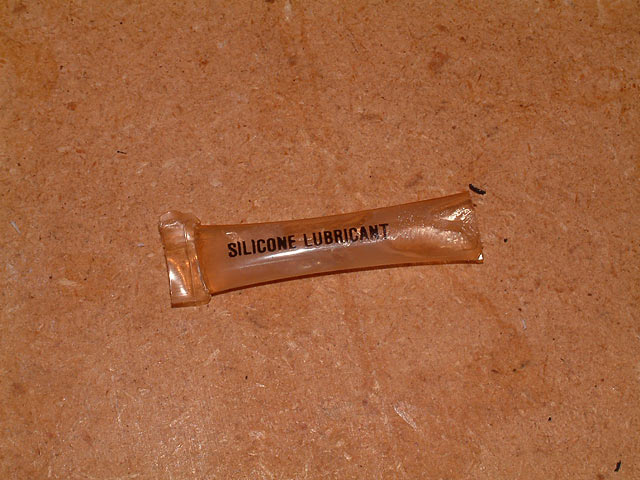
The O-ring should be checked for damage and lubricated with a silicone lubricant. I had some from years ago that was still good.
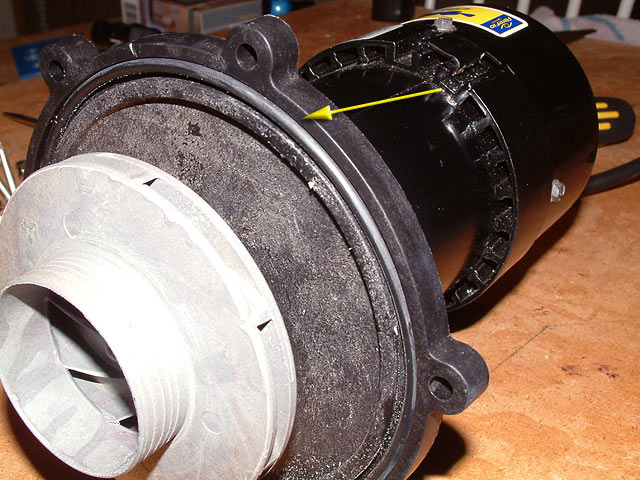
Once that has been applied and the O-ring is in place, the impellar cover can be realigned to the back plate.
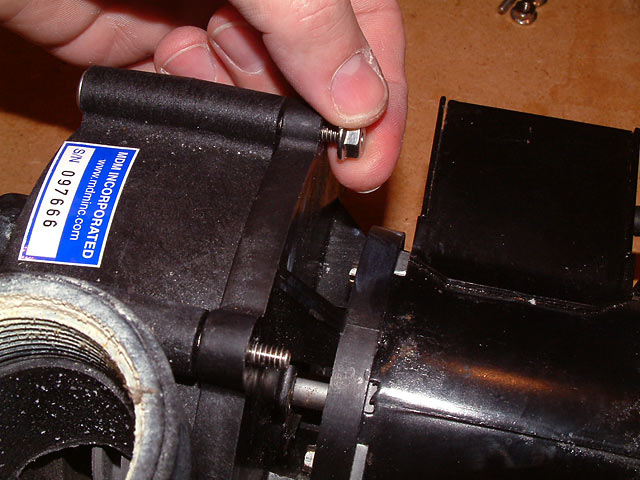
Hand tighten all the nuts, then using the 3/8" wrench, tighten them down in a criss-cross pattern. In doing so, the coverplate will be secured properly and evenly. Everything should look uniform, with the coverplate sitting evenly in the base and the screws should should all have the same amount of threads visible.
Make sure all six screws are equally tightened, but not so hard that something breaks. You don't need gorilla strength to tighten these down.
And that should be it.
The final test would be to plumb it and test run it with water. If everything was assembled correctly, the pump should be as good as new.
Additional Reading:
How to replace bearings and seals - http://www.reefaddicts.com/content.php/338-Dart-pump-wailing-replacing-seals-and-bearings