Acrylic work: Routing teeth
How would you like to route some teeth for a baffle of your sump? Here is one of the methods I've used.
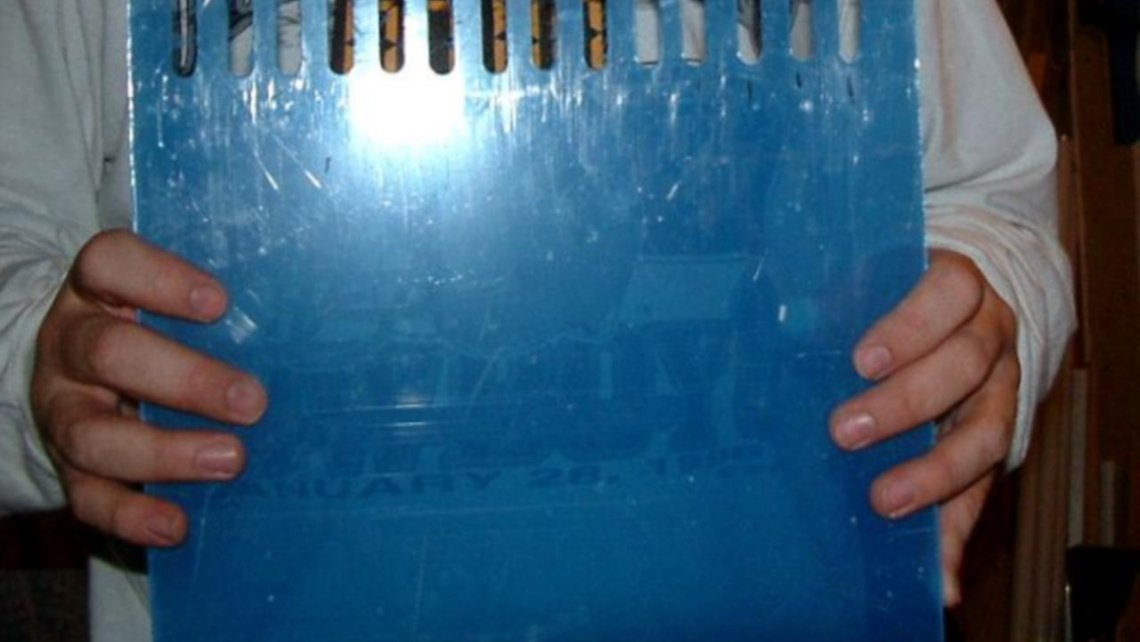
You could create a "jig" that is re-useable, such as the thumbnail to the right. It provides me with a series of grooves for the router bit's shaft to trace, but over time it melts the material of the jig and has to be replaced. This is a good choice for a few uses, at most.
Or you could cut teeth individually, especially for a one-time application.
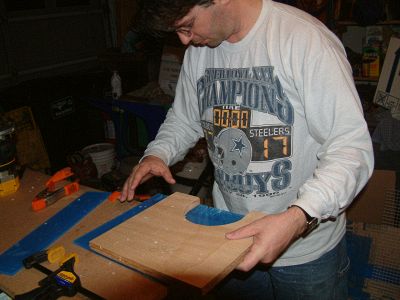
I made a template that fits the width of my router base. Using a piece of plywood or MDF, trace the half-circle of your router's base onto the wood. It is very important that the half circle is recessed from the edge of the board 1.5". Basically, you'll have a U-shape in the template, so that the router can slide straight in and back out. It will travel 1.5" each time, creating each individual tooth.
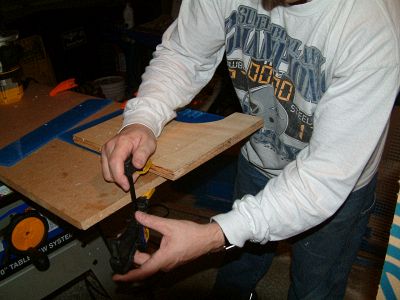
After marking a small line every 3/4" on the acrylic along the edge that needs teeth, clamp the acrylic to the workbench. Clamp your template to piece of acrylic, lining up the template so it is flush with the edge of your acrylic and on one of the marks you made. You can use an oversized piece of acrylic, to practice the first few cuts, and trim those off on a table saw later. Using a longer-than-necessary piece gives you more material & space for easy clamping.

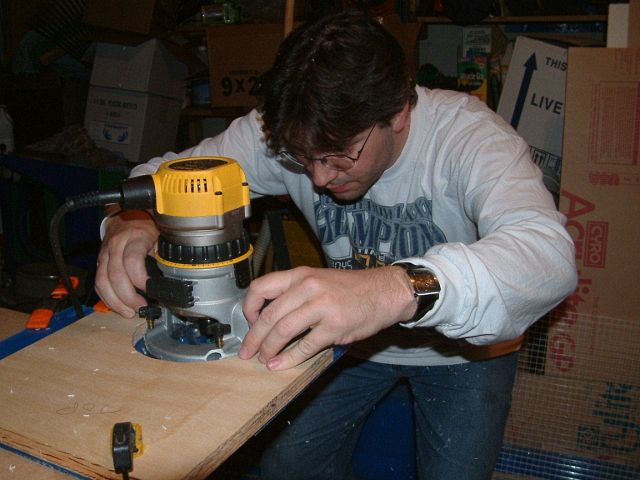
Turn on the power, run the router into the template, and carefully back it out. Turn off the router.
Unclamp the template, move it over 3/4" to the next mark, making sure the front edge is flush, and repeat...until all the teeth have been cut.

Be sure to leave clearance for the router bit so it doesn't cut into your workbench. Take your time, and you'll have a project to be proud of.

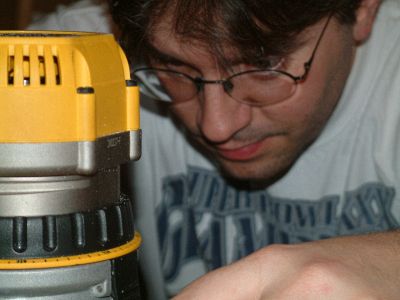
Note the wise use of protective goggles. Oops... I do wear them, honest! :)
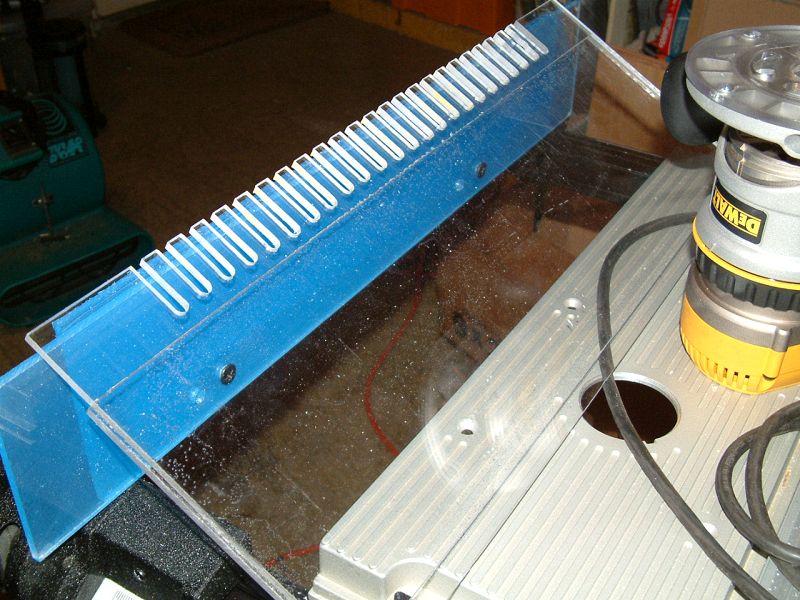
This piece is ready to be secured in a sump. (Remove protective film before gluing.) Having a baffle like this is useful as the divider wall between the refugium and the return zone, to prevent macro algae from washing over into the next zone.