Applying a black vinyl background
The one thing I always recommend to anyone is to apply a background to their tank. You can use a reef scene if you like, or a solid color. You can paint the back, you can build an interesting back-lit shadow box like a friend of mine, or you just use vinyl. The nice thing is it's inexpensive, easy to apply, and later it is just as easy to remove without any damage to your aquarium.
Some people like a blue background, but I don't. I had a piece of blue vinyl and put that sheet behind the tank just to see what it would look like, but it was a no-go. I already have colorful walls in my home, and honestly the best backdrop for a coral reef is black. Just like the black velvet they use when they showcase diamonds in a jewelry store -- it just looks clean and the gems sparkle. Similarly, if you keep the back panel scraped clean, corals will pop against that dark backdrop.
Here's the blue background picture. I also checked what lighter blue would look like, which reminded me of the inside of a swimming pool.

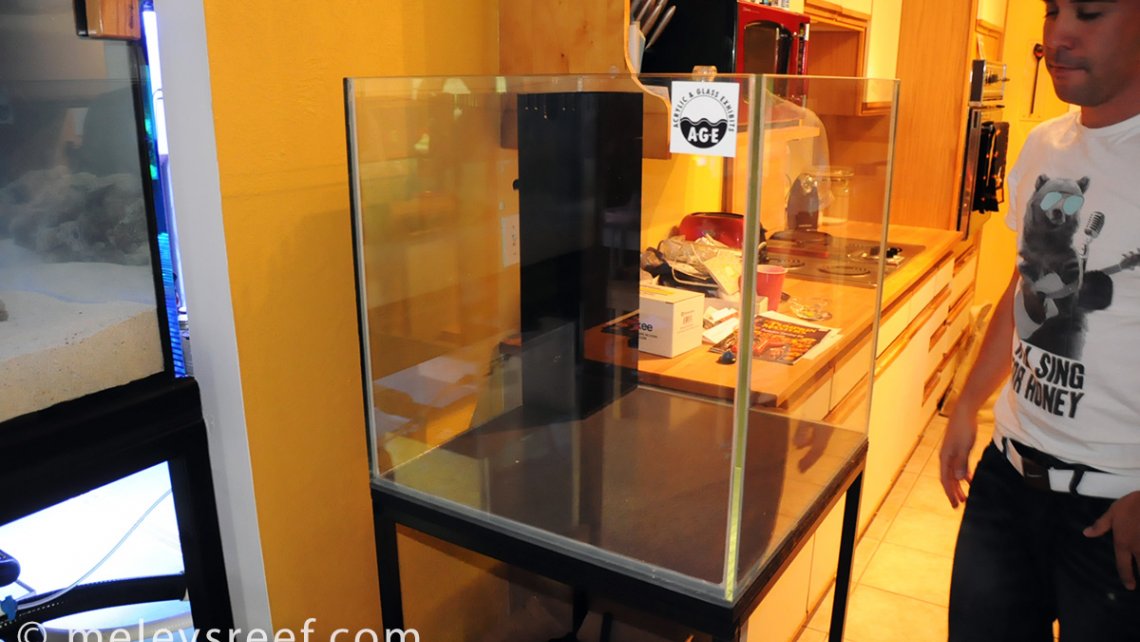
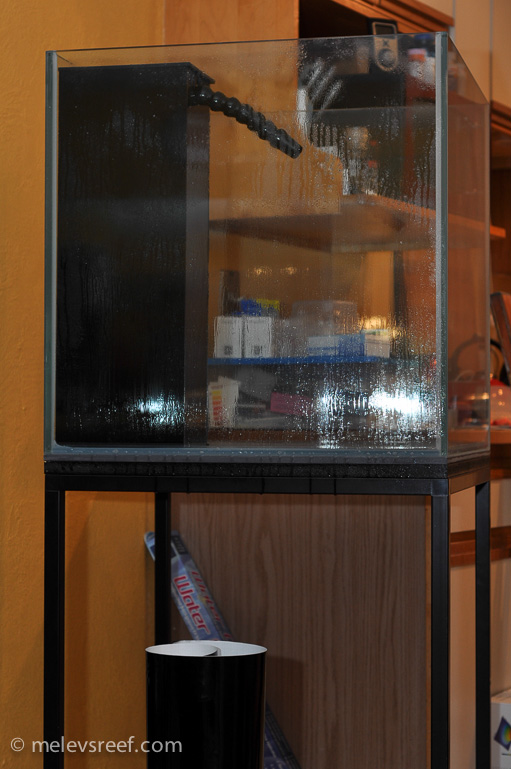
I applied the black vinyl sheet to the back of the 60g. The back pane of the tank is 24" wide and 24" tall, and the piece of vinyl was larger than that.

I cleaned the back of the tank with Windex and newspaper since that doesn't leave lint or smudges. Next, a spray bottle was filled up with tap water with a drop of Dawn dish detergent. I sprayed the back of the tank to get the entire surface wet.
After peeling off the paper backing to expose the sticky side, I sprayed down the vinyl. With the glass and the vinyl wet, the piece can be moved around and positioned exactly where it needs to be.

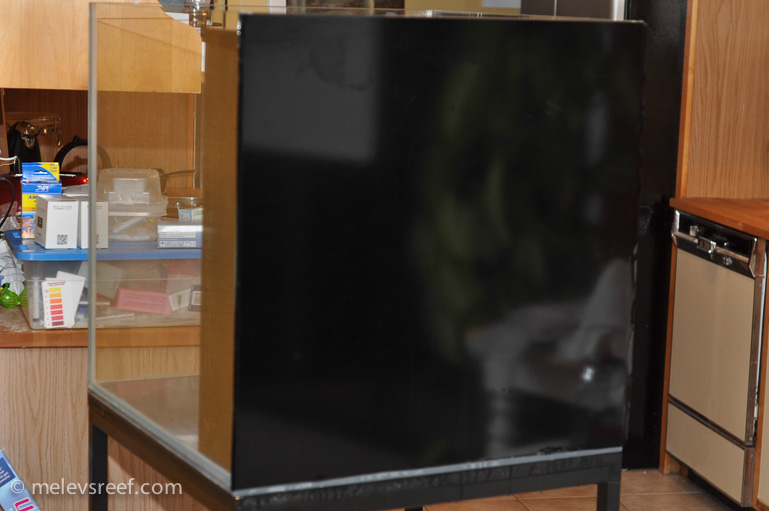
Here it is, just placed on the back of the tank. Air bubbles and slight wrinkles are normal.

Using a credit card, I worked the top edge first, then made a full pass down the center. Then using the plastic card from the center, I smoothed outwards to smooth out the vinyl and force out any trapped air. Some liquid came out the edges as well as along the bottom.
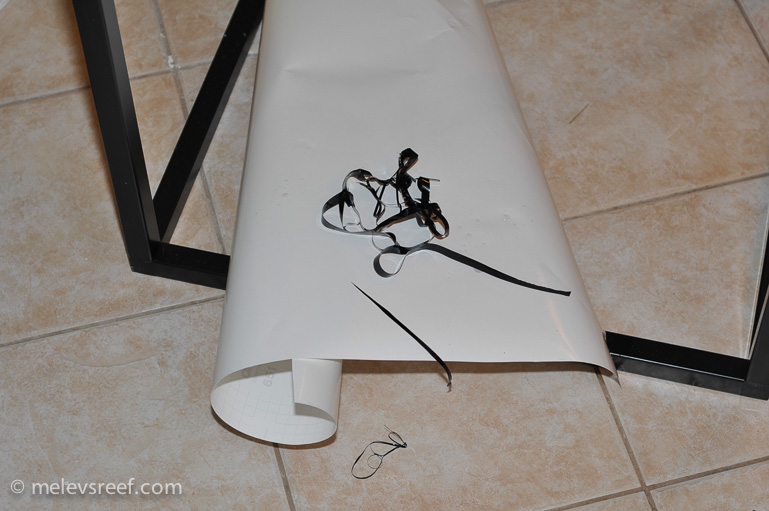
All that was left to do was trim the edges, since the panes have chamfered edges. I don't want the vinyl to have any spots where it could peel off, so cutting away the excess leaves the vinyl only on the glass where it has been adhered. The first picture shows where I started.


That's it. It will cure for the next few days, but that doesn't affect setting up the tank. Nice clean background done.

The next step involved securing some wood to the steel stand so it wouldn't rack, so it would be safe and sturdy. That will be in a different entry.