The Fish Room
Things pertaining to the room's design
Had I known it would take me nearly seven months to build and set up the new tank, I probably would have hired some professionals, but I'd worked in construction years ago, and knew how to do much of the work myself. Plus, I do like to DIY my projects . A lot of blood, sweat and money went into the construction of the fishroom, and I have the scars to prove it.
The previous reef was also in a fishroom, but that room was 6' x 7' with a step down. It was a snug fit because of the size of the sump that extended into the room to accomodate the Euroreef skimmer, and when guests entered they often stumbled in due to the unexpected step. The reason a step existed is because this floor was originally part of the garage. The new room needed to be bigger not only because of the size of the 7' long aquarium, but also to give me room for a large saltwater storage vessel, a sink, a place to do all the water tests, and the quarantine set up. The new aquarium is 36" wide, which meant that the kitchen to fishroom doorway was going to have to be eliminated.
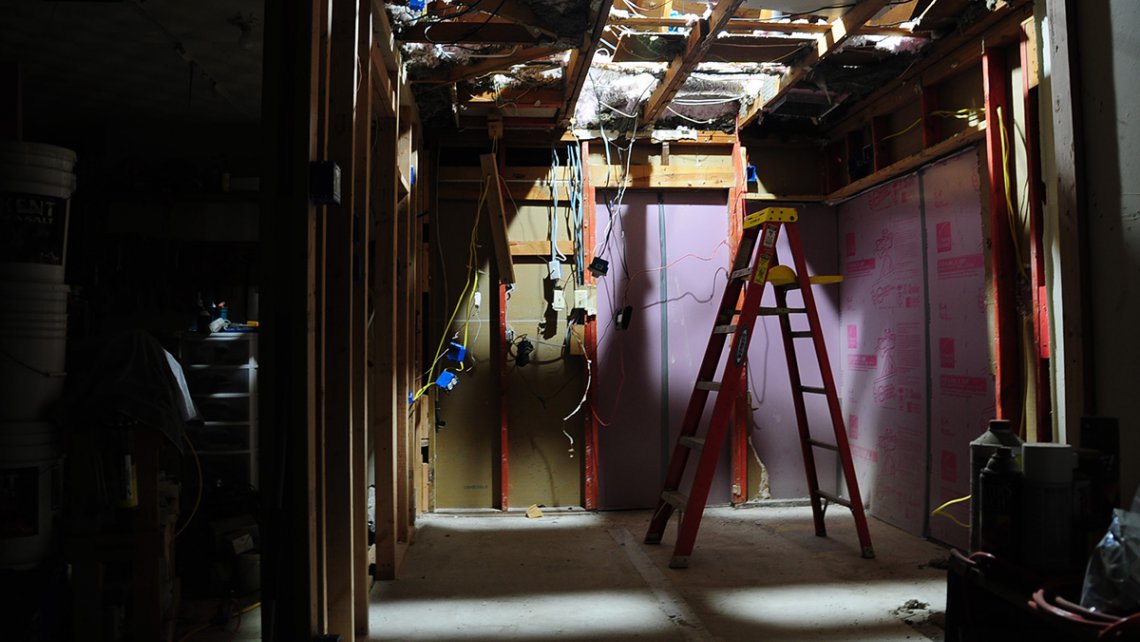
The entry hall closet was never used for coats; it was always full of tank gear and plumbing ran through it to the angled tank. The simplest solution was to remove the closet's walls and make that the new entry point. Sheetrock, the wall's studs and some wiring was removed, and the hall door was reversed to swing into the fishroom. It's a little bit narrow since the doorway is 2' wide.
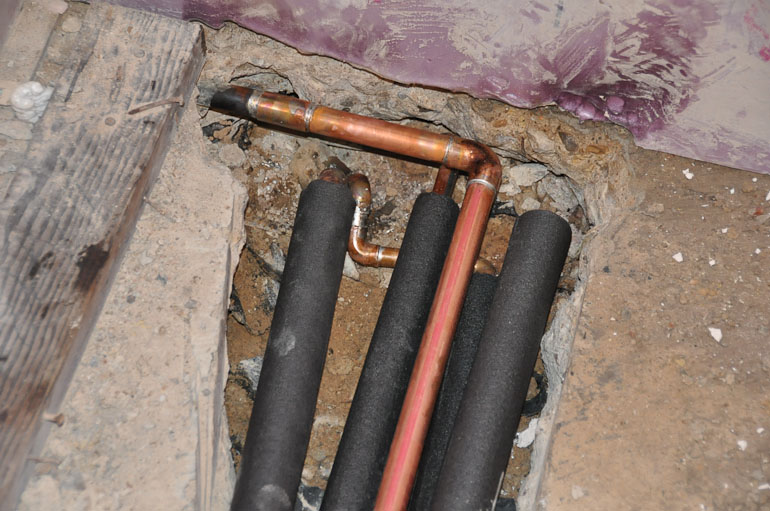
The next hurdle was to remove the step down once and for all. The larger fishroom needed more concrete poured to make the floor even with the slab that was under the aquarium itself. And the copper pipes that the water heater used were completely in the way. I rented a concrete saw after discovering that a hammer and chisel weren't going to cut it. The construction zone was particianed off with sheets of 3/4" pink foam to keep the heat of the summer out of the living area. It didn't take long for the fumes from that gasoline-powered saw to cause my eyes to water and my lungs to burn, and even pumping in fresh air with a huge fan wasn't much help. I had to take frequent breaks, giving the room time to air out only to continue the slow cutting of the concrete around the copper pipes. More pipe was run to a spot where the sink would go. After that, the concrete was broken up with a sledge hammer and taken out by the bucket. With full access new copper pipe was sweated to the stubs sticking up, and these were carefully wrapped with insulation.
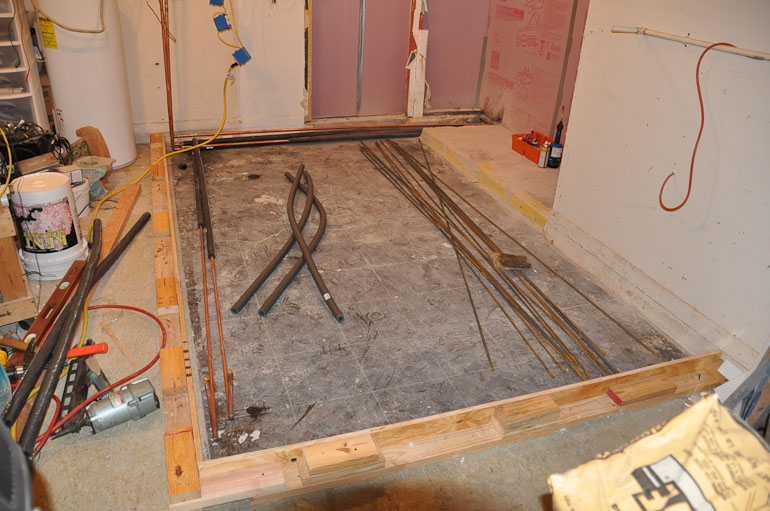
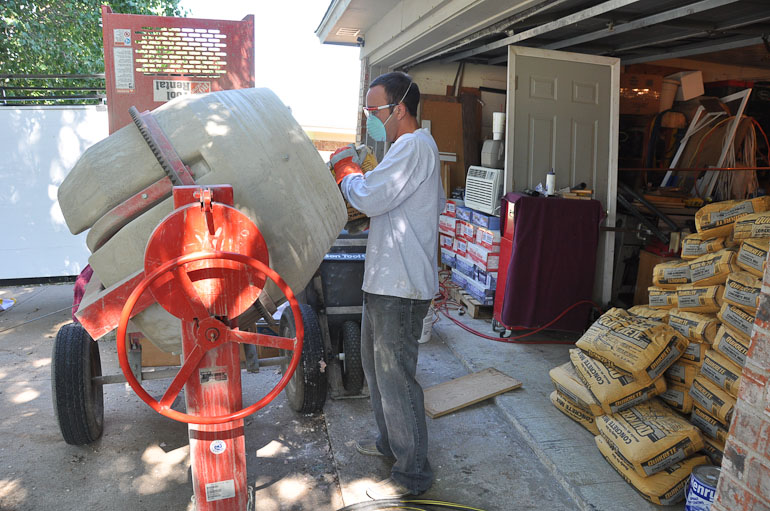
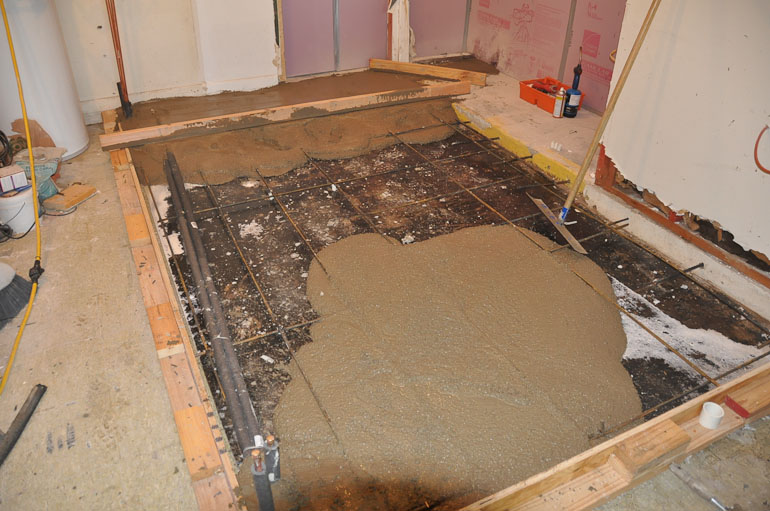
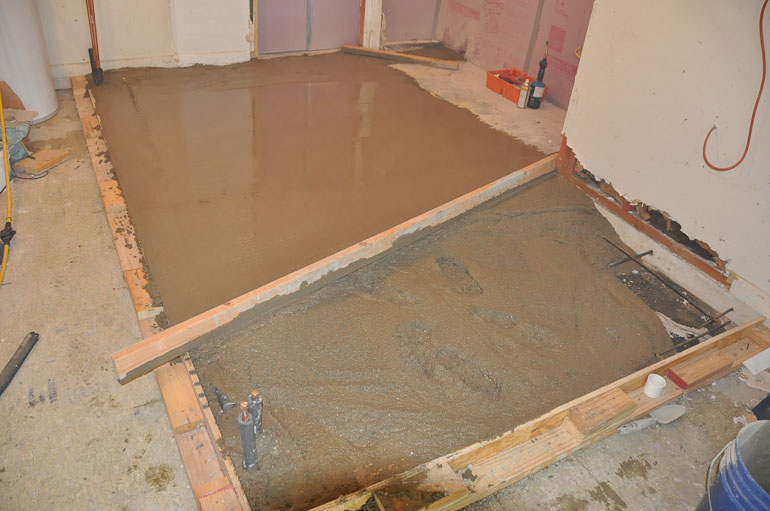
Rebar was cut, and holes were drilled into the slab to secure the framework to the concrete slab. Forms were built. Two trips to Home Depot were necessary to haul all the bags of concrete home, due to their weight. The concrete was mixed in a large rented mixer, and then poured into the form and leveled out. That was a long hard day. The french drain was added after the concrete was poured, because it was floating up when first attempted. I pressed it into the concrete, added some weight to keep it even with the surface, and smoothed out my footprints.
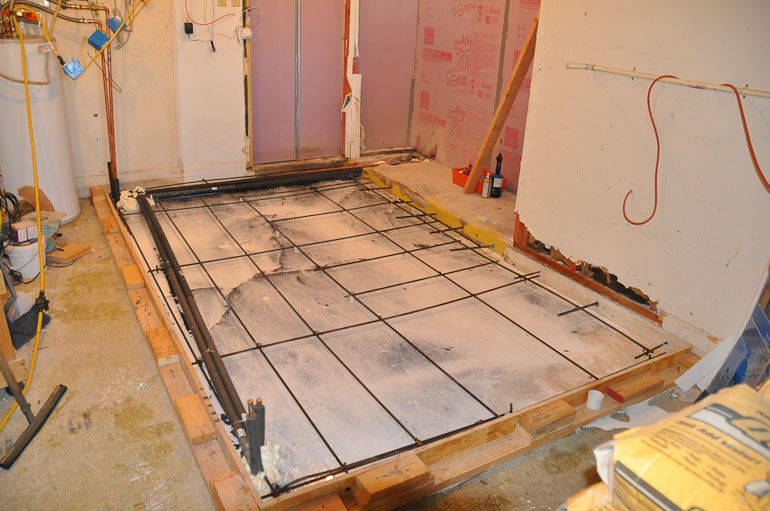
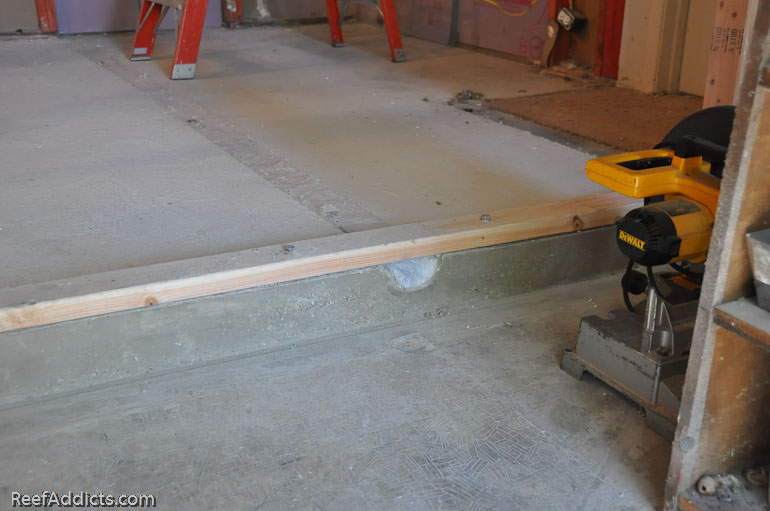
Within a couple of days, the forms were pulled off, exposing the curing concrete. About a week later, it was ready for the new walls to be erected. The base plates were secured with anchors, and new circuits were run to the various areas of the room. A total of six circuits were run. Two of the circuits are GFCI, and all of them ran to a new subpanel instead of the main circuit breaker box.
The end wall wasn't built until the aquarium and water storage tank were moved inside. More importantly, I had to deal with the ceiling which was in terrible shape. Rather than mending it and trying to match what was in place, I tore it all out exposing the joints, and had loose insulation raining down everywhere. It was then that I discovered the intersection of trusses was in disrepair, with one section 1" lower than the rest. I had to buy a 15 ton can jack to force the beam back into place, and lagbolt it all together for a smooth ceiling. The vent fan had to be replaced, and the new one was moved to a spot where it would do the job of evacuating heat and moisture, but this time it was over the fishroom floor instead of direclty over the reef tank. The vent's exhaust tubing runs to a roof Whirly Bird, preventing any mold from growing in the attic.
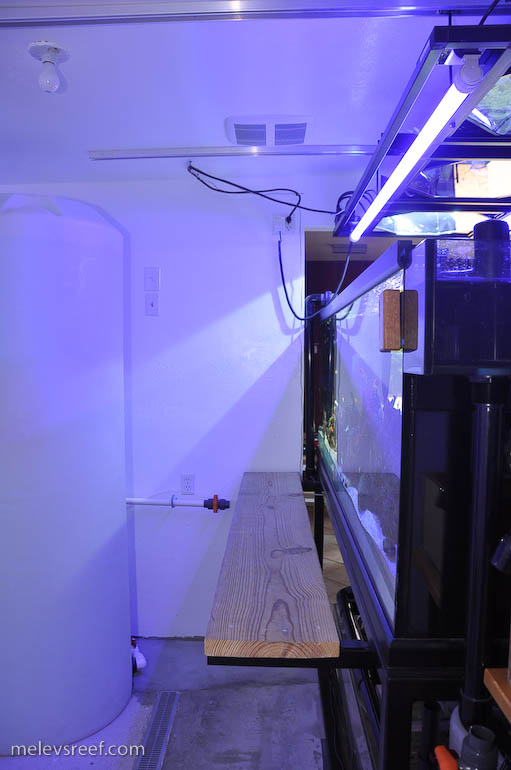
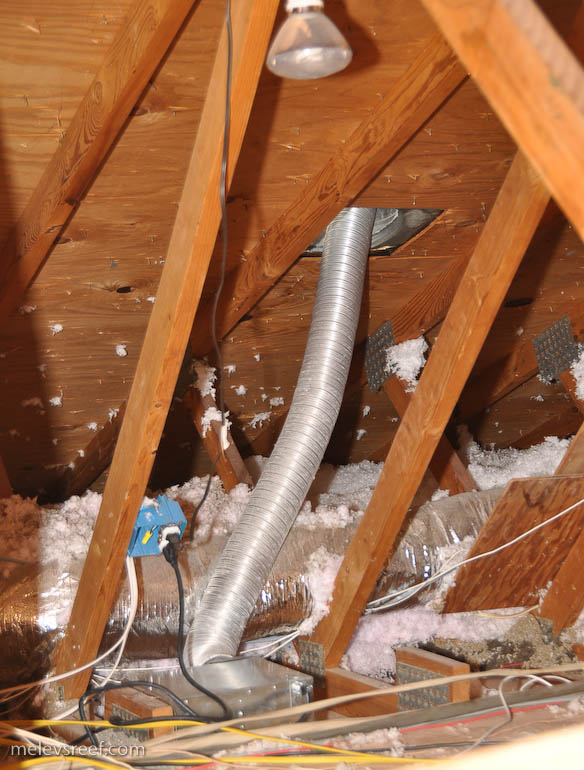
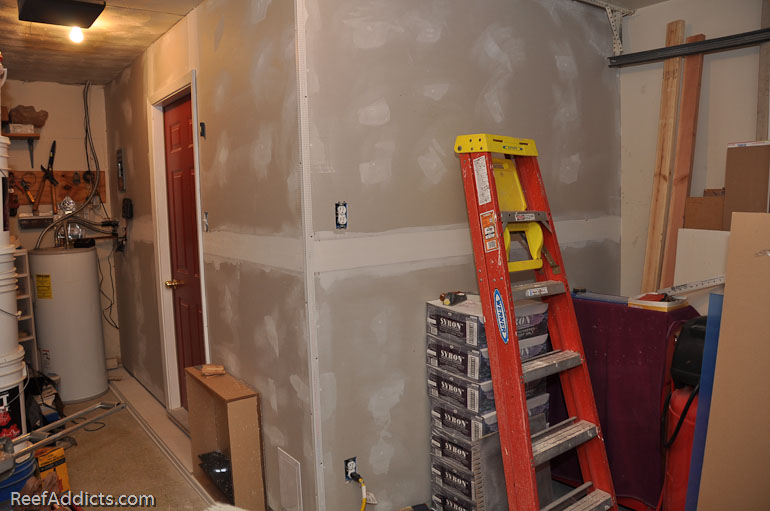
New sheetrock was installed on the ceiling and walls, cutting out for light fixtures and outlets. Tape and bedding was next, then crow's foot texturing. The walls and ceiling were painted with white glossy paint.
The 265g poly tank (for saltwater storage) was moved around the room until I decided it needed to be in the rear corner. I'd considered raising the ceiling over the upright container to get more clearance, but it wasn't really necessary. I have about 10" of space to pour salt into the top access port, which is fine with bags of salt as well as from a tupperware container.
The steel stand was brought in and carefully leveled, using composite shims specifically made for me by a friend out of state. More concrete was poured inside the base of the stand and adjacent to the french drain to assure any water would flow into the drain. I purchased special patching concrete, mixing each bag and working the material to maintain the proper slope. This is when I'd wished I'd hired some guys to do the concrete, but honestly I doubt they could have gotten it right with the walls in the way, the situation with the copper pipes, as well as the home made french drain system. It was just one of those projects you had to deal with and adapt as it progressed.
When the new aquarium arrived, eight of us carried it into the open-ended room and lifted it onto the stand. With it in place, the rest of the walls were finished out, and the plastic covering the french drain was removed. All the construction stuff would have otherwise got trapped within. The drain stubs out of the concrete slab enough to run drain pipe along the wall of the garage, and pours out under the garage door. I was concerned about rodents, insects and even the occasional snake working their way up the plumbing, but I found some blue collapsible hose to overcome that potential risk. When water flows out, the hose lifts up to allow the fluid to pass through it, but it flattens back out once empty and nothing has shown up ever.
The end wall of the fishroom forced me to remove the pulldown attic access stairs. Now a smaller access opening is all there is,, on the garage side. That way nothing from the attic would drift down into the fishroom, sump or aquarium. A 36" doorway from the fishroom to the garage allows entry, not unlike the last fishroom. When exiting, the step down into the garage area exists, but this hasn't been an issue for guests touring the setup.
Here is my MACNA 2015 presentation discussing this room in detail:
