Acrylic work: Tools I use...
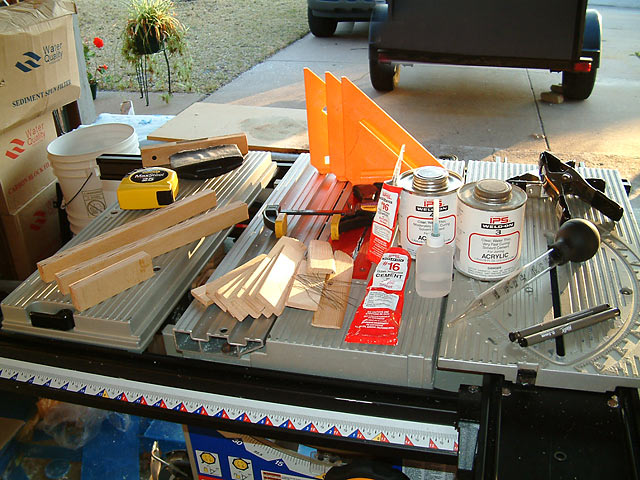
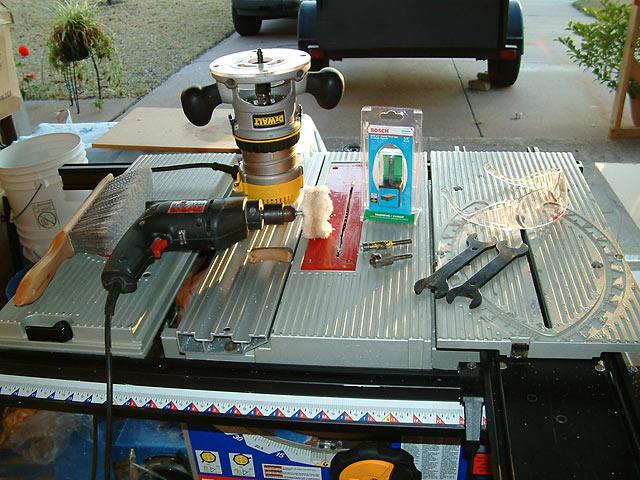
Due to the abundance of emails, it was time to put some pictures on the site. Here are a number of items I use to build the sumps and other acrylic wares I fabricate. While not everything is absolutely necessary, I find that if you have the right tools on hand, your end result will be better. Keeping track of all these items can be a task, since they scatter during the construction phase...
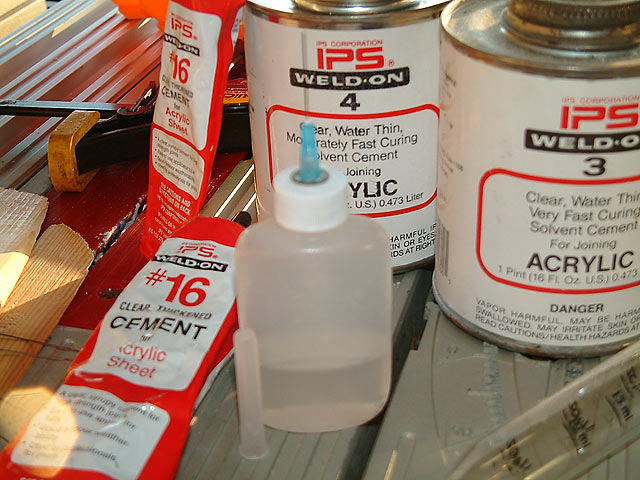
The most important ingredient: Weld-On. Above you can see several kinds. #3 is for fast setting smaller projects, #4 for sumps, and #16 for repairs. Dead center, a needle-tip applicator. If you plan to try your hand at this, buy two applicators. They can clog, and there is nothing you own small enough to unclog them! However, you can use a match or a lighter to heat the needle for a second or two, which will unclog the tip. Unfortunately, the tip can only be unclogged a limited amount of times, so get a second bottle so you aren't stuck mid-project. Another method of unclogging the tip is to submerge the tip in the solvent, and pour more solvent in the cap. By morning it should be unclogged again.
When I use #3 or #4, each piece is bonded using the "pin method" Zephrant explained on Reef Central. When one seam has been joined, I remove the wires (explained below) within 15 seconds, as AcryLite FF melts quickly. Here's another Sample Project where Zephrant explains the pin method.
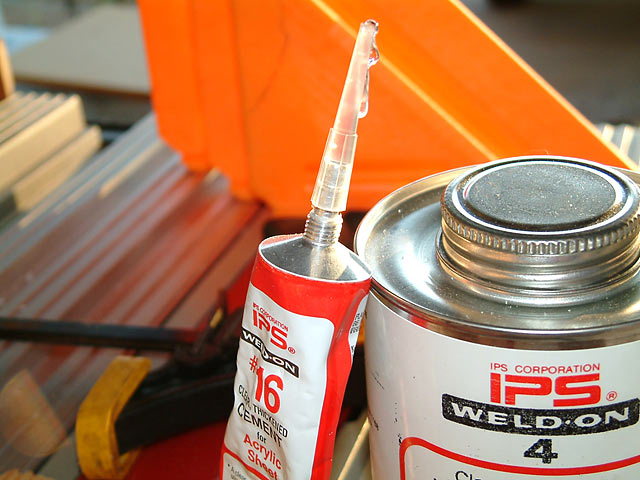
#16 is a semi-runny solvent, and I strongly recommend buying a pack of plastic nozzles at your local hobby shop. I buy 5 tips for $0.99. Take your tube of Weld-On #16 with you to make sure they will fit.
Weld-On #16 should be applied sparingly, not like applying caulk. When it cures, it shrinks 30% in volume, and can create air pockets in your project. It also can melt craters into the material, thus my recommendation for plastic nozzles. It helps provide more measured control.
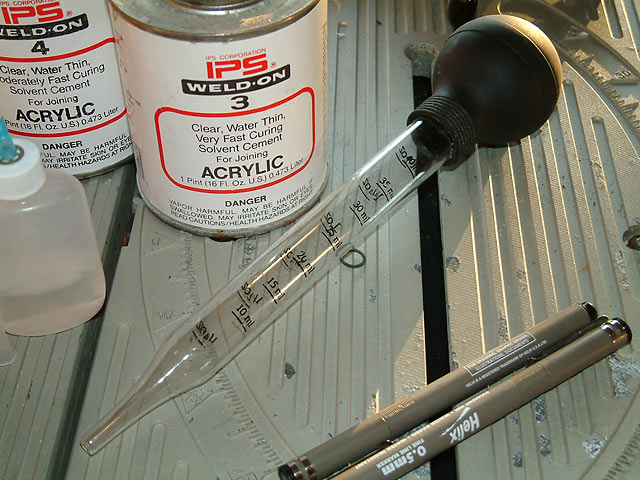
The turkey baster above is made of glass. Plastic ones melt quickly when used to transfer Weld-On from its can to the applicator bottle. I found this one at Linens & Things for under $10. Also, a couple of markers are used to write on the acrylic. I use them to mark where pieces go, and later can wipe these off easily.
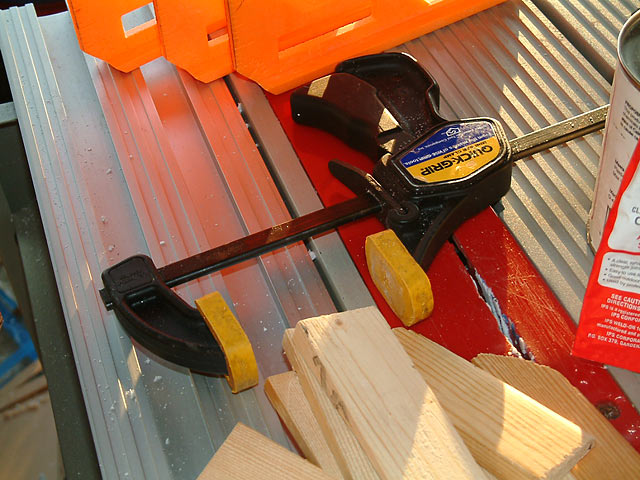
These clamps come in handy, when preparing material as well as when bonding some pieces.
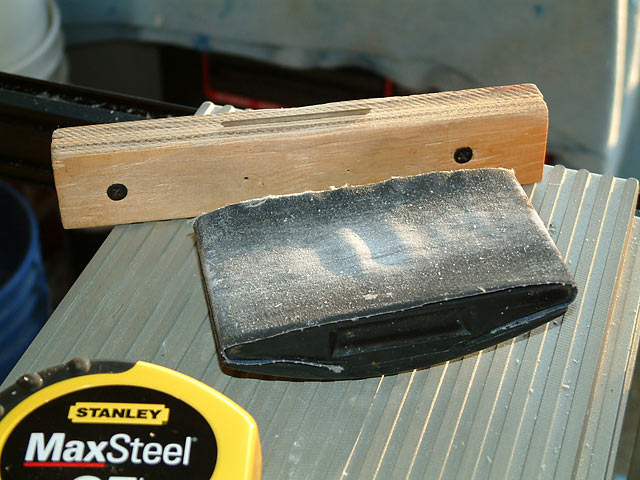
The sanding block and my DIY scraper is used to prepare the edges that are to be bonded.
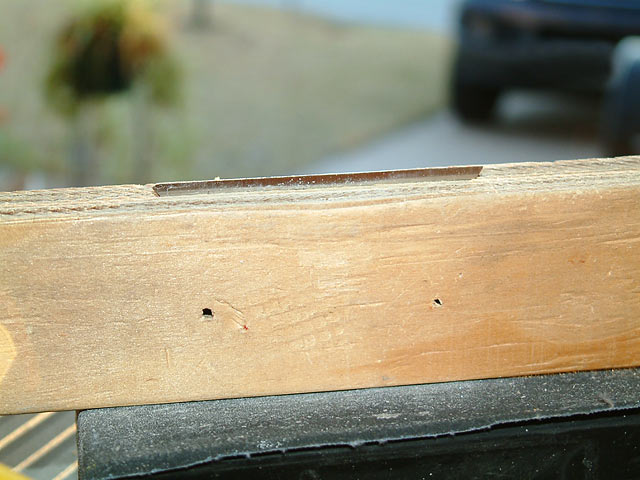
Two pieces of wood are screwed together to hold a regular utility knife blade. Inside, there are two small screws strategically located to prevent the blade from slipping too deeply within the wood. This holder has been used for about a year.
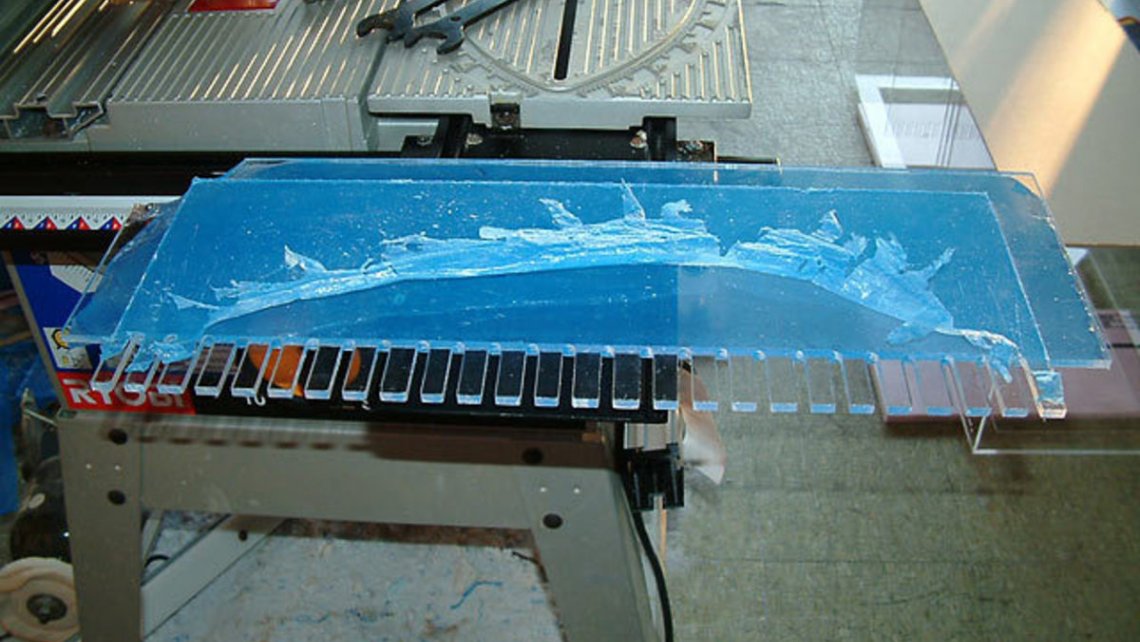
Using both hands to hold the blade level, I scrape the edge of the acrylic. The clamp pictured above holds each piece against the table saw's rip fence securely. Once the edge is scraped smooth, I run the sanding block a couple of times over the edge to avoid any burrs or sharp edges.
![]()
Rather than using pins, I use the smallest guitar strings I could find, such as the "g" and the "e" strings. I cut them into 3" long pieces, and have been using them for months. The shims are used to align the acrylic before it is joined. (Explained in the pins method)

These are plastic Speed Squares, commonly used for carpentry. At Home Depot, they sell for about $4 each. Note that the corner has been cut off each, intentionally.
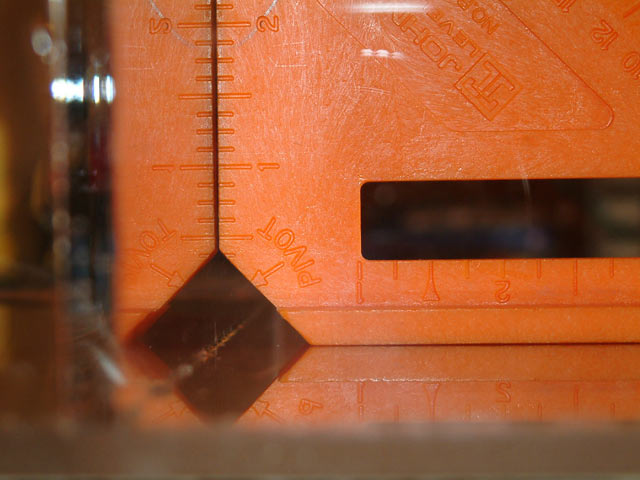
In this image, you can see how the lack of a corner helps keep the joint of two pieces devoid of contact. If the corner was still on the speed square, when you wick the solvent into the joint, it would also wick under the square and glue it to your project. If you happened to notice in time, it would still marr the acrylic where the puddle had occured. This is why the corner has been nipped off, to avoid damage.
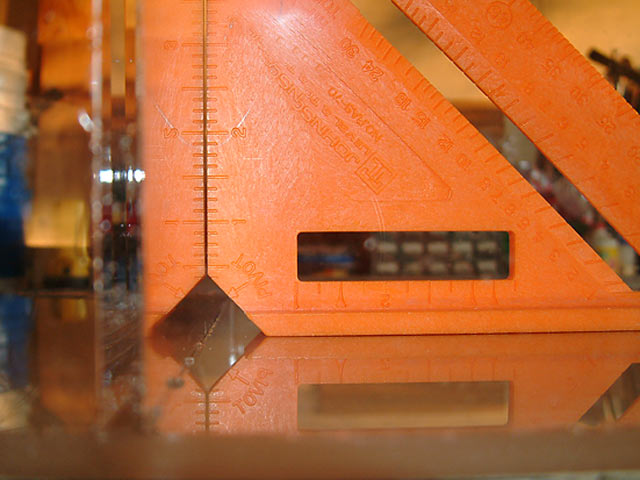
Reflections in this picture may be confusing. This is a common 90° angle where a baffle is glued to the base of a sump. This image is just to illustrate how that seam is safe from interference. I use the square to glue parts at perfect 90° angled-corners, rather than just trying to guess if parts are bonding straight at perpendicular angles. Here are more construction pictures of a sump being built.
![]()
These are my spacer blocks. The longer pieces are 1" wide, which I use between the baffles of the bubble trap. The shorter piece is 1.5" wide, which I use as a gauge to raise the center baffle 1.5" off the base of the sump.
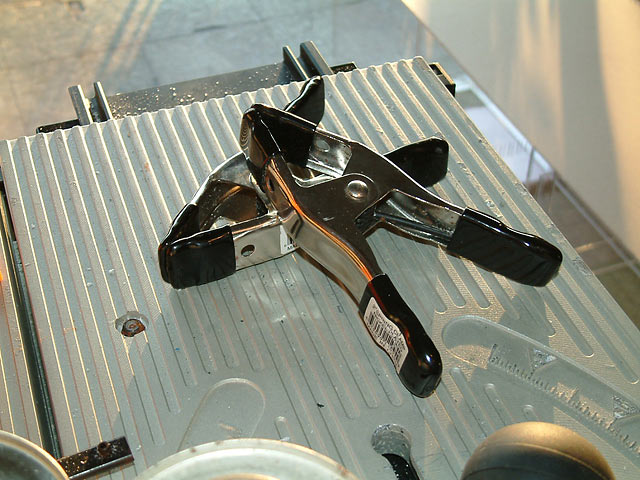
Spring clamps are handy, such as when I have to cut the teeth for the refugium section.
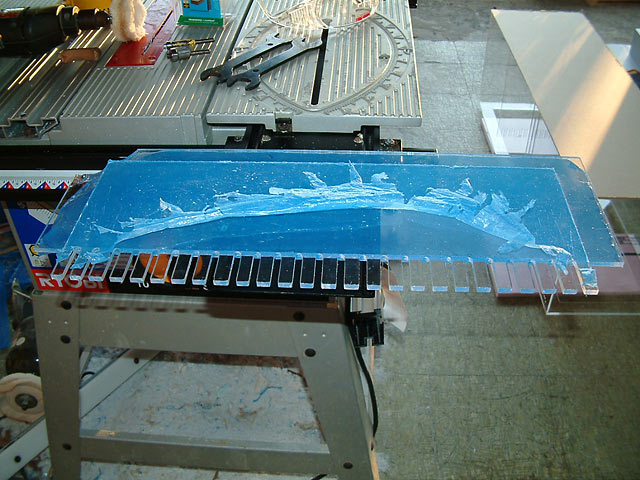
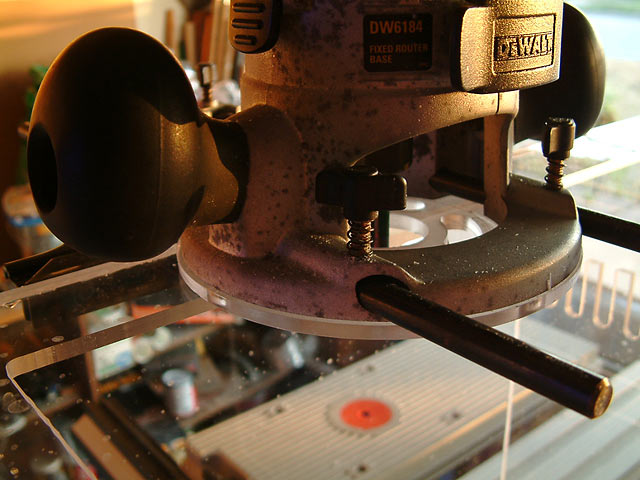
Here is my teeth template. Using the spring clamps, I'll secure this template on the acrylic panel that will become the refugium baffle. The shank of the router bit traces the template, while the router bit blades cut teeth into the acrylic clamped beneath (not pictured). Using a template, it takes 30 seconds to route the teeth of a 16" wide baffle.
Here is an alternative: How to cut teeth
More tools. To the left is a soft bench clean-up brush, which wipes away acrylic chips from the sumps without scratching. It was $2 at Harbor Freight Tools.
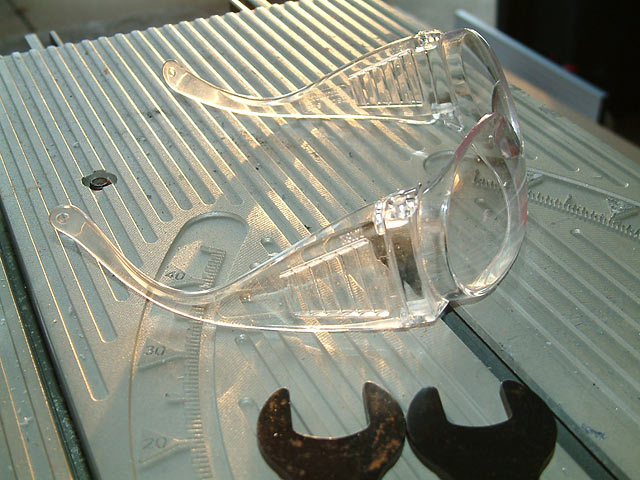
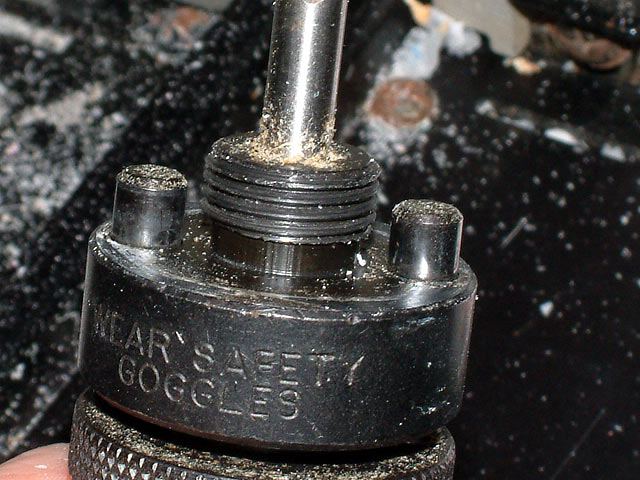
Safety Goggles. Not the coolest thing to wear, but I do every time I use my table saw and router. You just never know when something bad might happen.
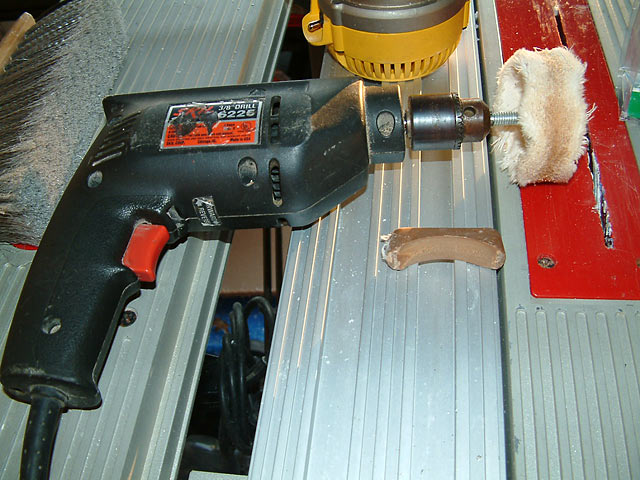
Using an older electric drill, I have a buffing wheel and some Tripoli (Jeweler's Rouge) to polish out imperfections and lighter scratches. Home Depot sells a polishing kit in the hardware department that runs about $12.
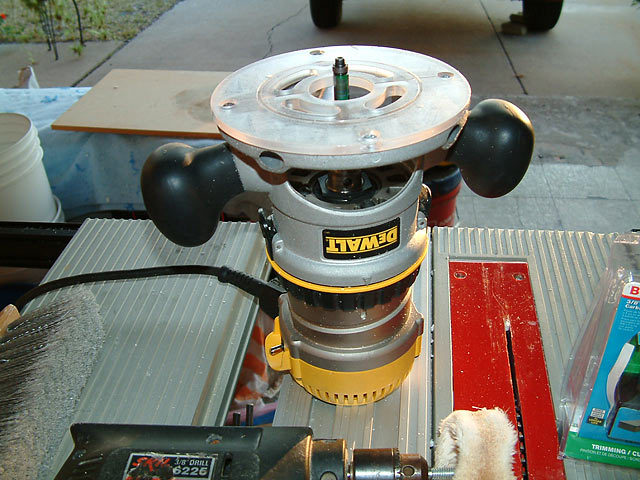
This router has worked out great. It also comes with a plunge-router attachment, but I've never used it.
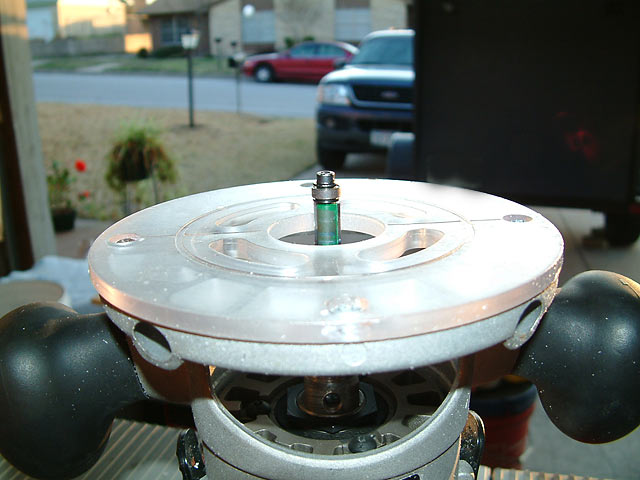
What bit do I use? A Laminate Trimming Bit. Above, that is a 1/4" shank 3/8" cutting bit. The bearing is what makes it possible to trim off the excess acrylic after the project has had time (24 hours) to cure.
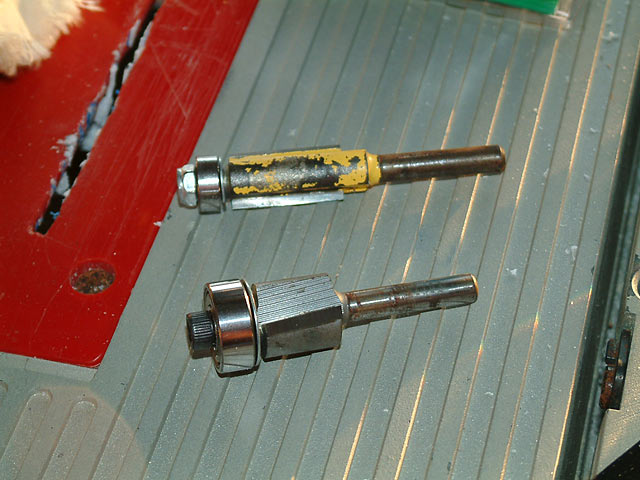
A couple more bits. The yellow one is 1/2" wide, the lower bit is a 3/4" bit. The benefit of larger bits is that as they cut through the material, they run cooler than the thinner bits. These are both well-worn.
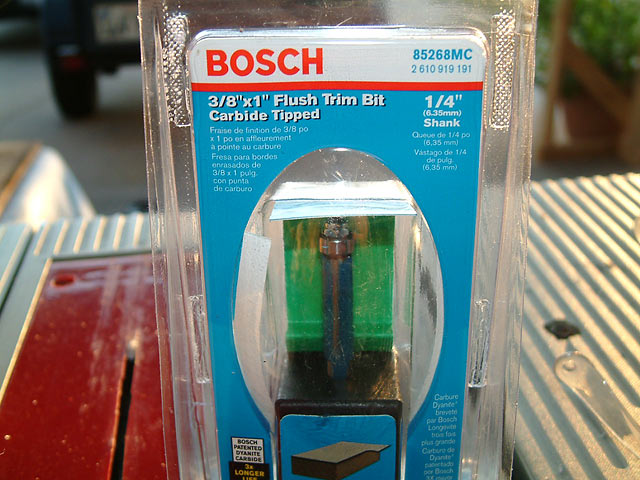
A brand new bit waiting to be used.
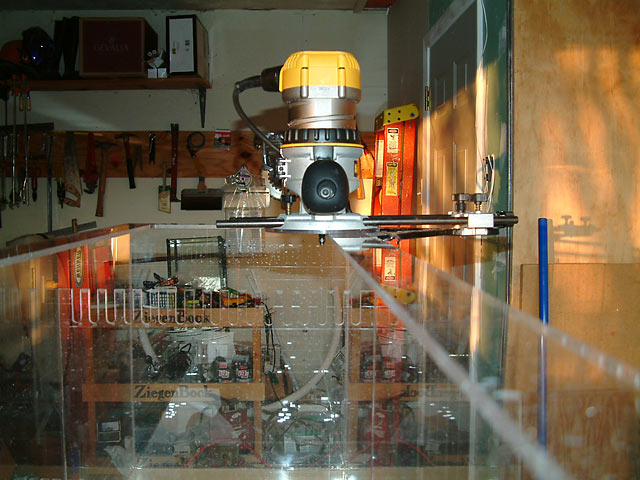
To make the flange, I have a router guide. The top is a solid piece glued on the sump, and after I drill a starter hole, the router cuts the opening as I run the guide along the periphery.
Another view.
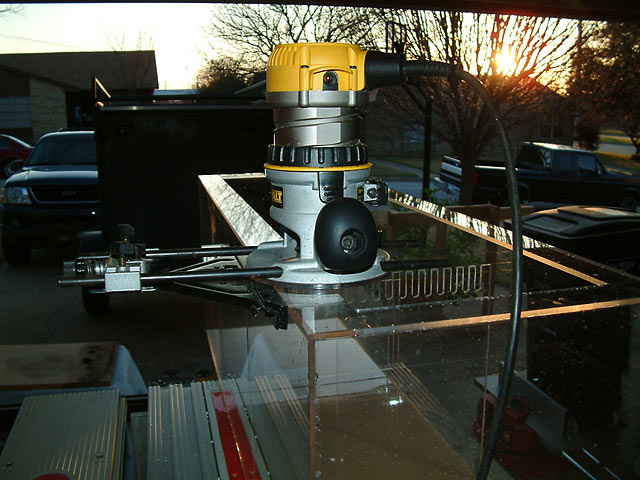
The guide has small adjustment knobs to fine tune the cut. The flange is 2" wide on this sump.

Here is a view from just under the top flange of the sump, with the router and guide on the opposite wall. The bearing on this bit does nothing in this application and a regular straight bit would work fine instead.
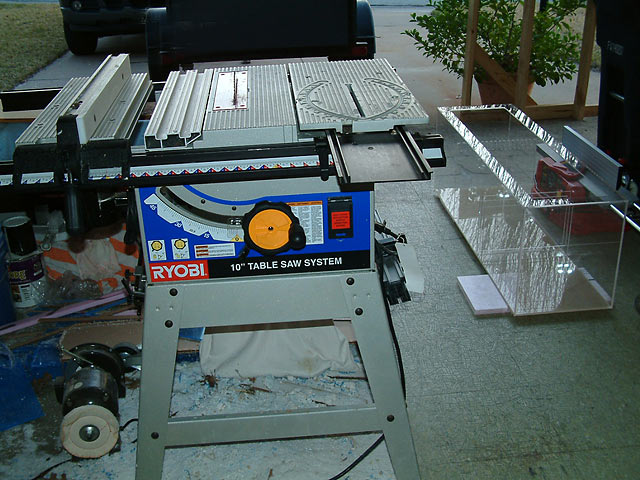
This is a 10" table saw. To the right, a Model F sump is ready for its new home.
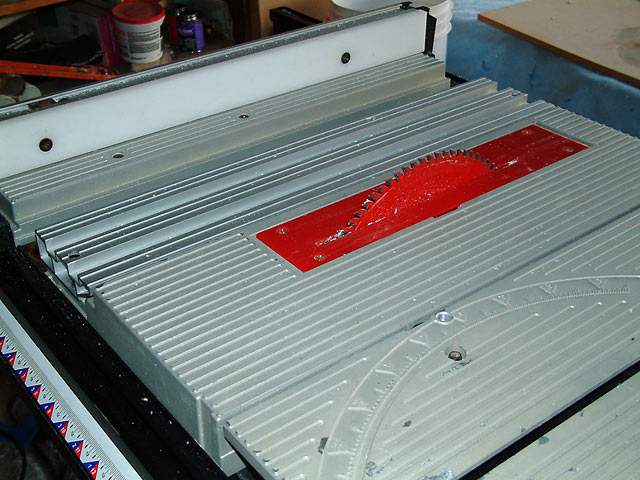
The saw blade is made by Freud, and is 80 tooth. Maybe more. It cost about $70.
Here is a blade that would work nicely. DeWalt 10" blade
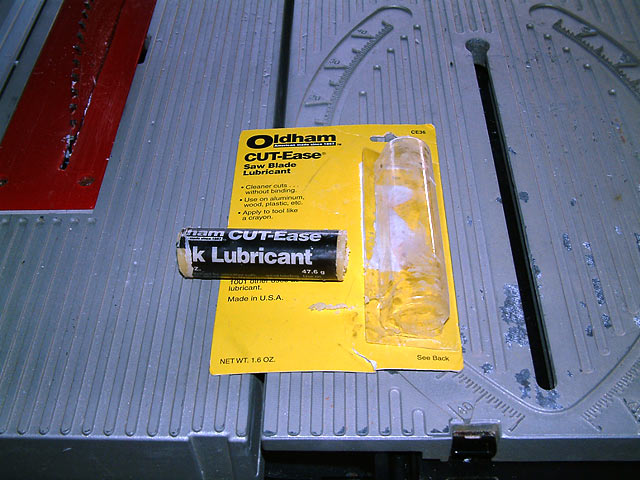
Using bees wax on the blade helps keep it cutting smoothly, and perhaps avoids some heat buildup.
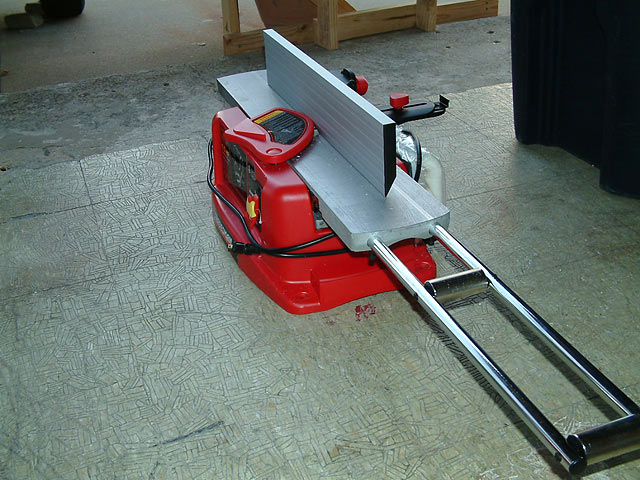
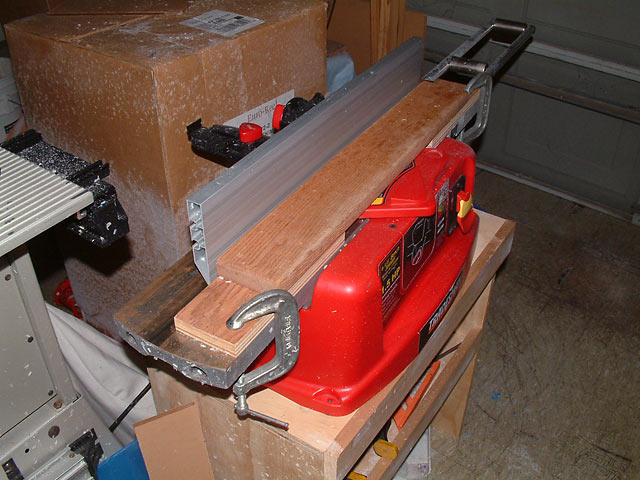
This is a new tool. Instead of scraping and sanding each edge, I bought a bench jointer.
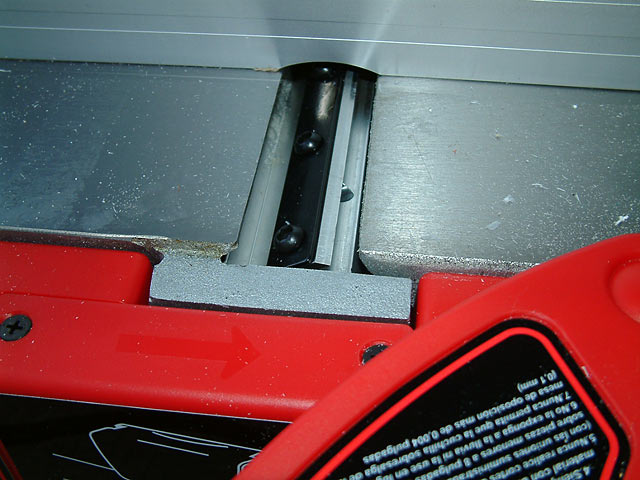
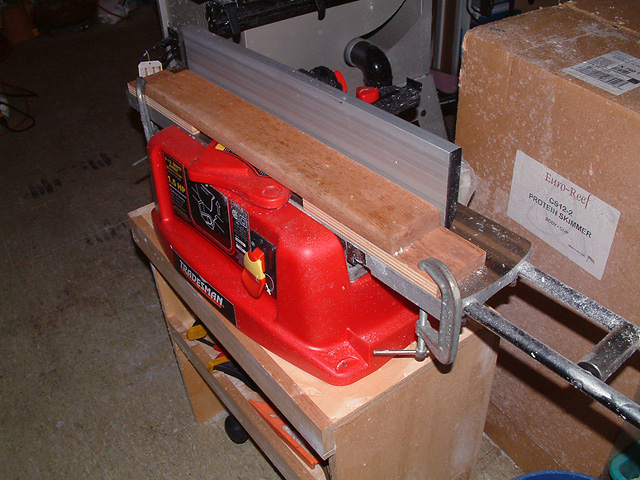
Twin blades spin rapidly, while the acrylic is moved across it steadily to create a clean edge. I use it all the time. I created a wooden guide to keep the acrylic straight or perpendicular to the blades, as well as a stand to keep it at waist level.
To drill a hole in the sump, a holesaw bit will do the job. There are several choices.
My preference is the ones made by Blu-Mol. They do a good job, are easy to switch out, and don't overheat the acrylic. When it is time to tap out the part that was drilled out, the openings in these bits provide good access. These cost more. The arbor and one holesaw can run $20 to $25, but additional saws cost around $10 to $14 each. I have a bit for 1", 1.5" and 2" bulkheads.
The drill arbor has locking pins to keep the bit securely attached. The knurled area is twisted to raise the pins into position, as you can see in the following images.
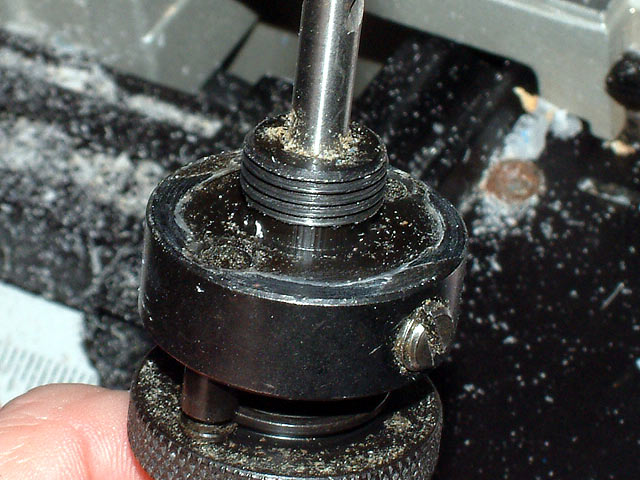
In this picture you can see how the pins are engaged.
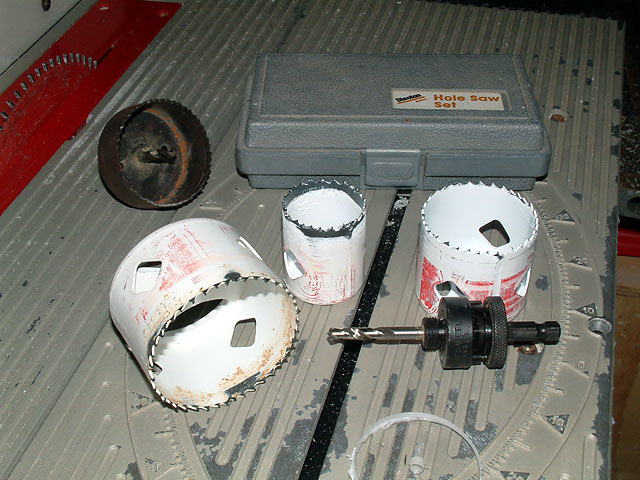
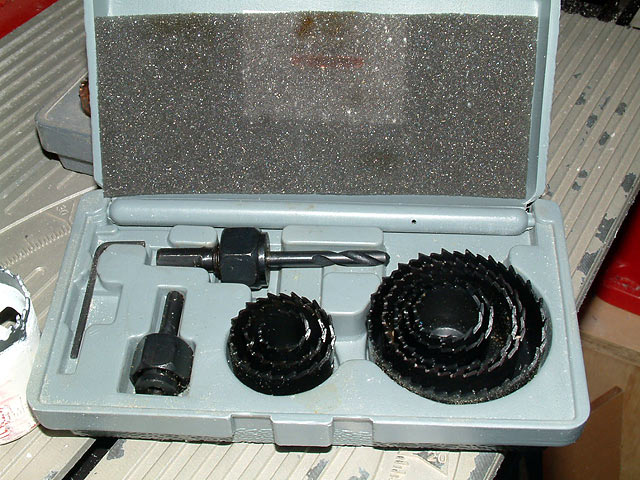
A less expensive option is a hole saw kit, which permits you to switch out the hole saw as needed. I bought this kit at Harbor Freight for about $5 to $7.
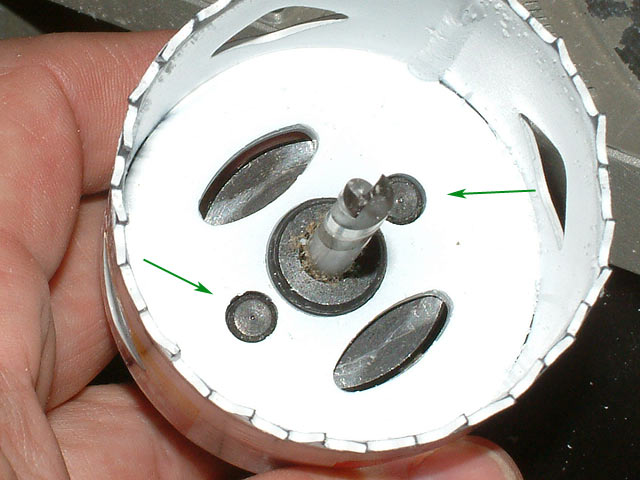
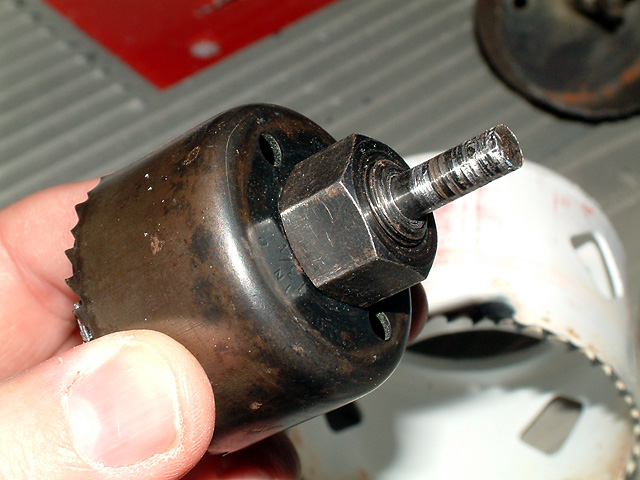
By unscrewing this nut, you can remove and exchange hole saw tips. This type of holesaw does run hot, and the acrylic may melt somewhat. Getting the piece out of the saw will be a little more challenging, especially if the bit is still hot.
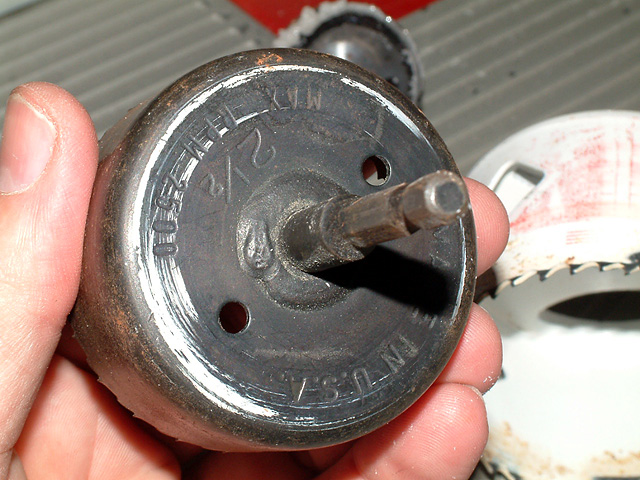
Finally, here's a very inexpensive bit that is not-interchangeable. It runs hot, and getting the acylic out of it is tough. A nail or awl will have to be poked through to press it out.
Still to come, images of the propane torch I use to flame polish the edges, and the accupucture needles I use now when gluing seams.