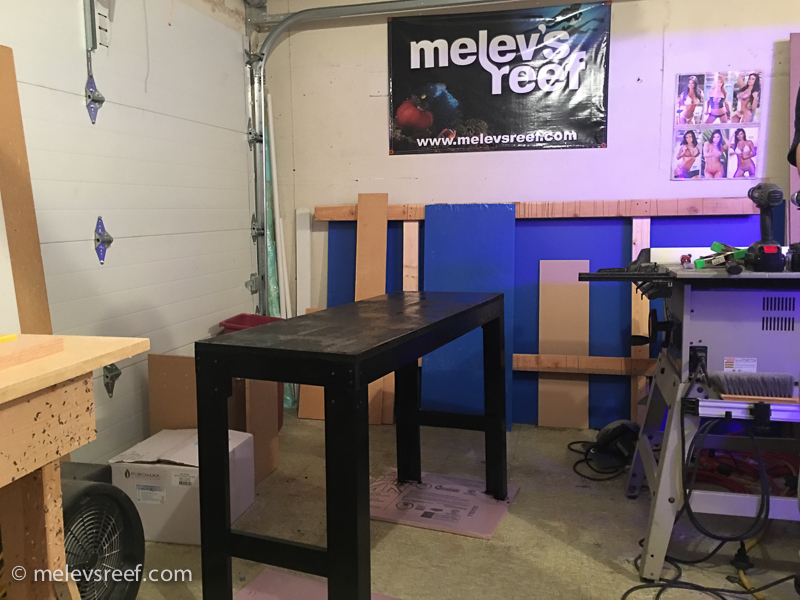
Frag Tank Stand - completed
I've been talking about a new frag tank system all year. It's November and I'm finally getting it done. The frag tank was made a month ago, but I needed a stand. I'd considered a steel stand to match the rest of my setup, but the cost just didn't justify itself.
Yesterday, a friend came over and offered to assist (translation: made me) with the stand build, so we ran up to Home Depot for the necessary items:
- 1x3 Red Oak boards
- A box of Wood screws
- Gorilla Wood glue
- Glossy Black oil-based paint
- Oil-based paint brush
- Countersink drill bit
Everything including tax was $103. It could have been made for less money, but I wanted something durable, reliable and good looking. $103 for a stand is definitely still affordable.
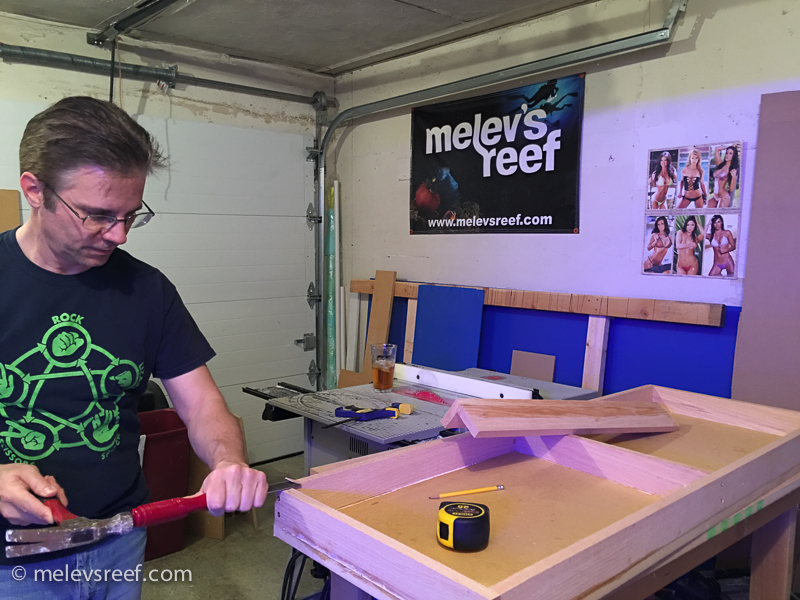
I used 1x3 boards because this project weighs 600 lbs and that didn't warrant 2x4 construction. So often I see stands overbuilt, robbing the space beneath where equipment needs to fit. This stand will do exactly what it needs to do for many years to come.
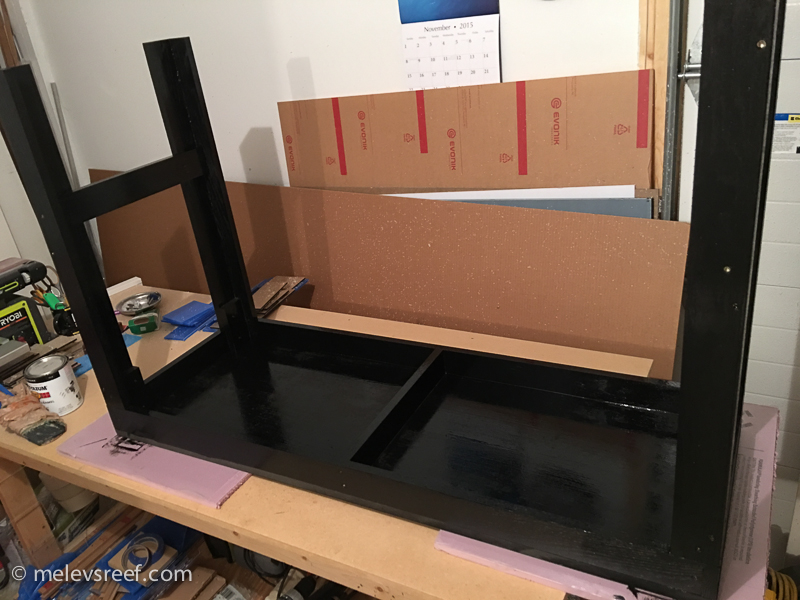
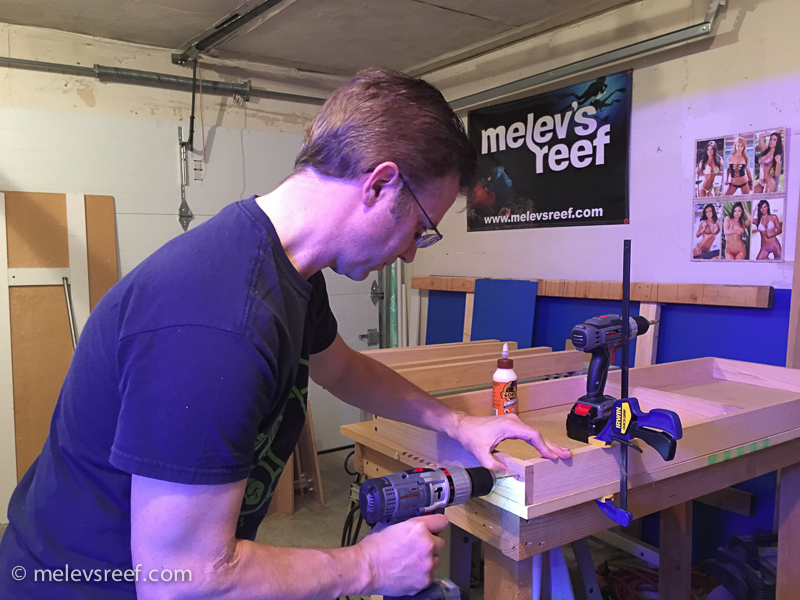
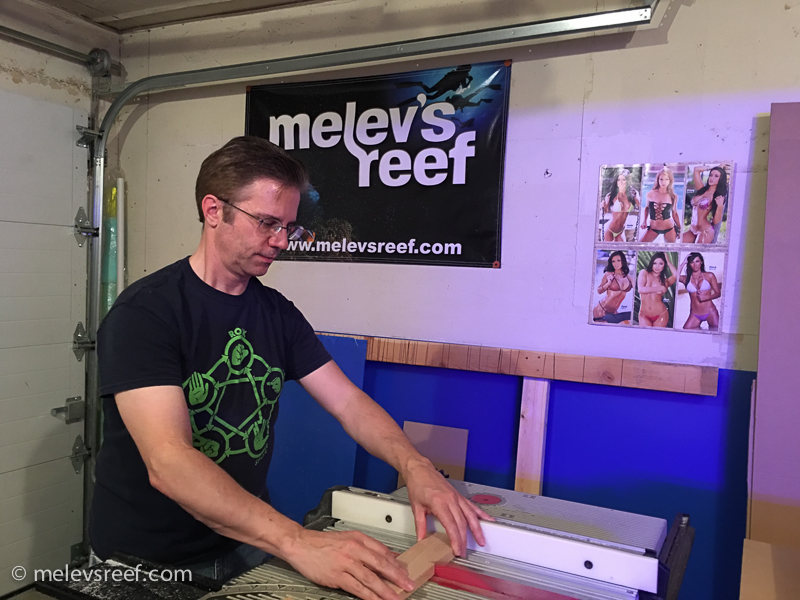
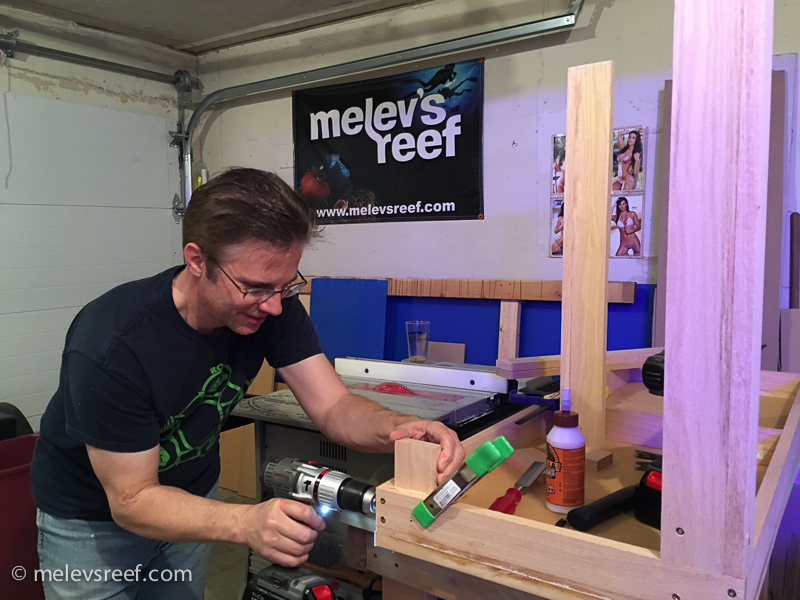
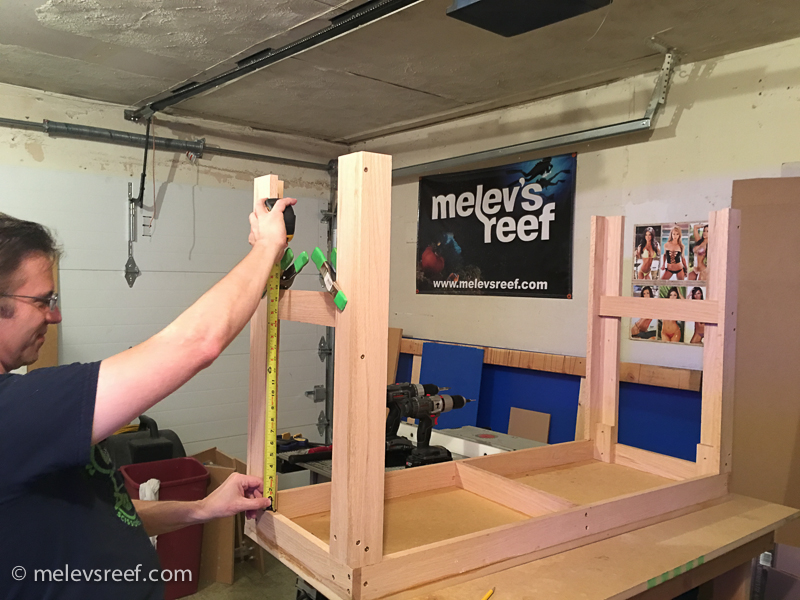
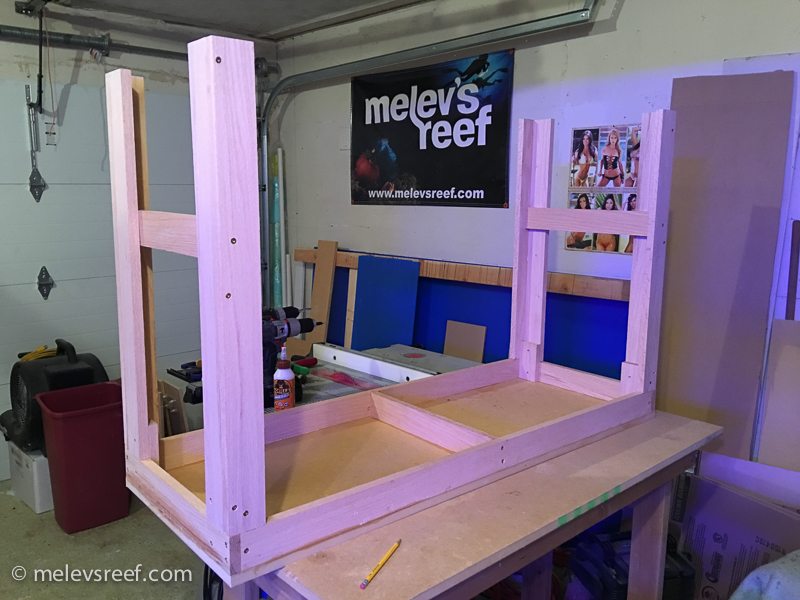
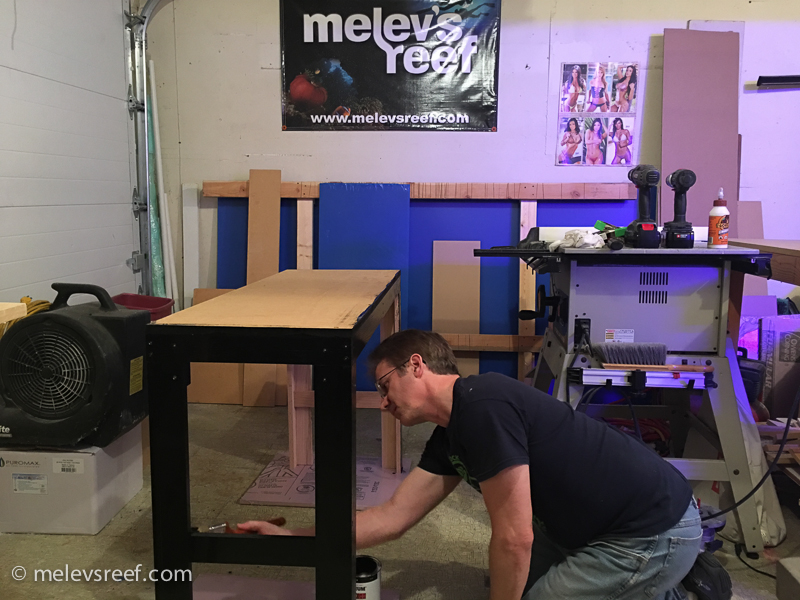
The frag tank is 48" x 18" x 16" tall, which adds up to a 60g tank using outside dimensions. It will hold a little less, but should be a great way to test products when those requests happen. Here are a series of pictures of the construction. Red Oak is very hard wood, and every hole had to be pre-drilled for the screws or the lumber would crack or split. The drill bit got hot, dull, and even smoked at times. Having two of the same sized bit would be wise. Once the hole was drilled, I followed up with a countersink bit so the screws would be flush with the surface (or deeper in this case, as I was not precise for this particular project). Once ready, glue would be applied between the joint, then the pieces would be screwed together. Over time, the glue is what holds it together, the screws simply hold the joint tight until the glue cures.
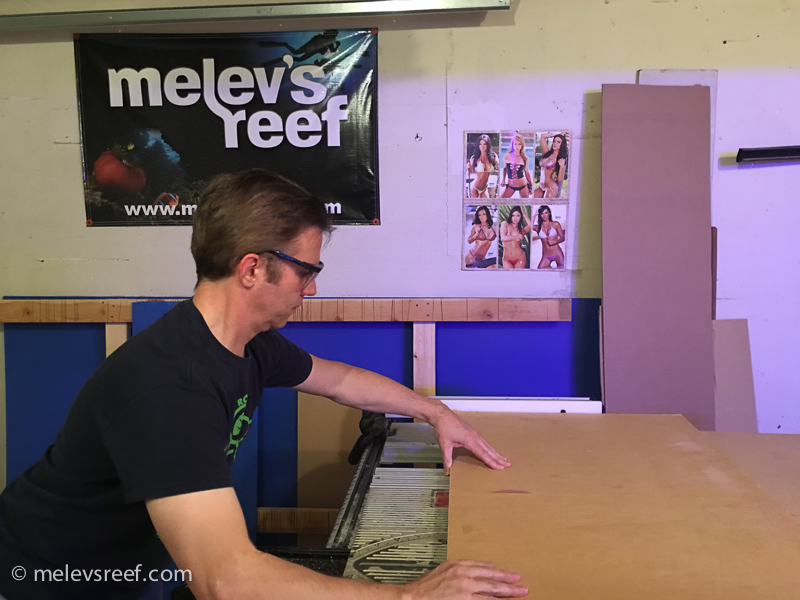
The top piece of the stand is MDF lumber. Properly sealed with multiple coats of paint, it won't be a problem.
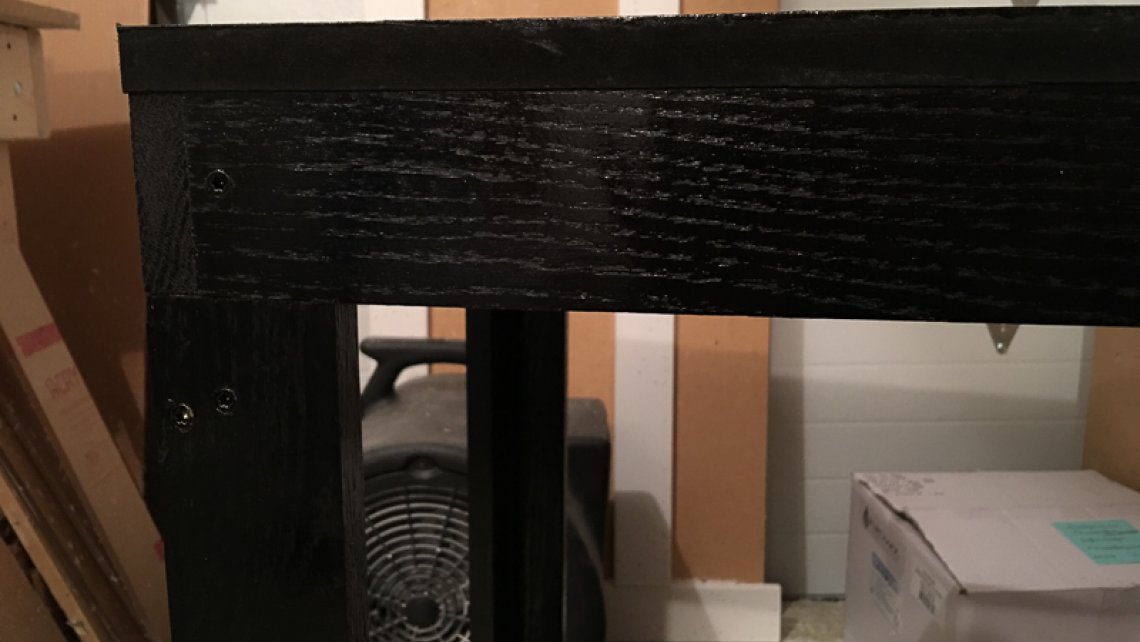
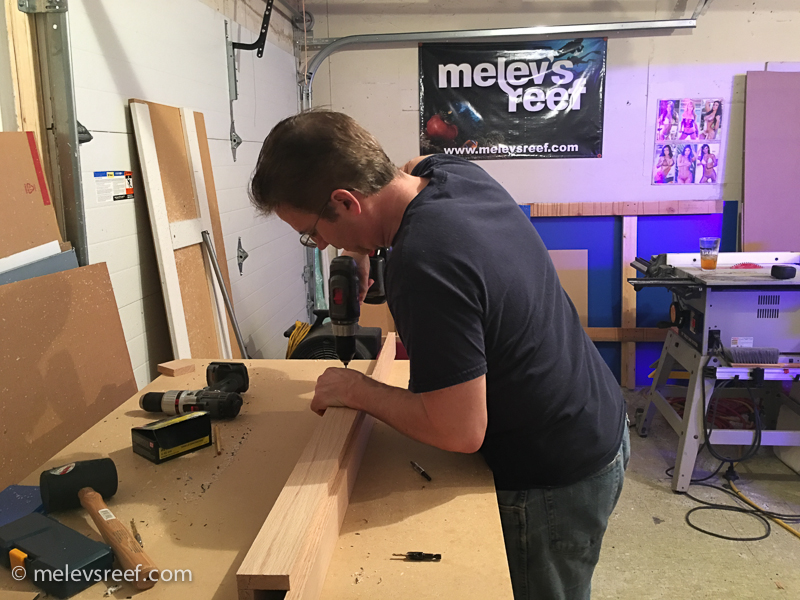
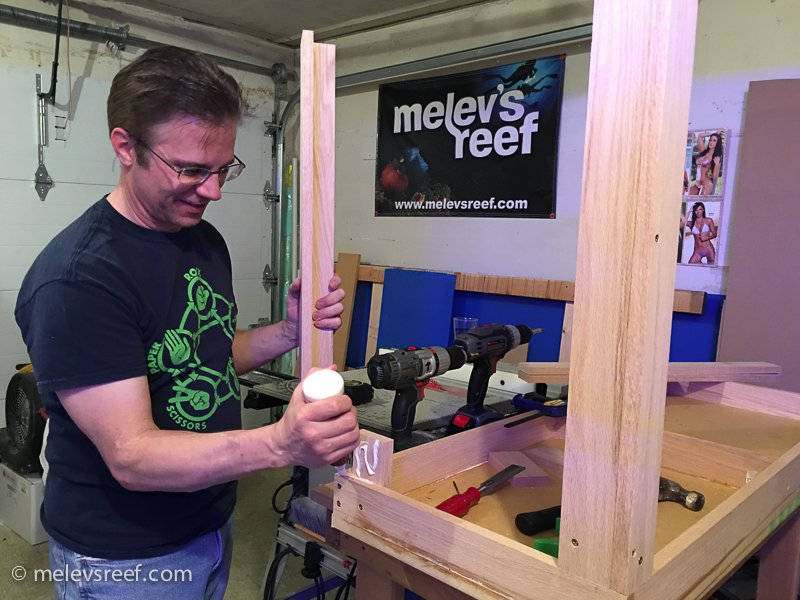
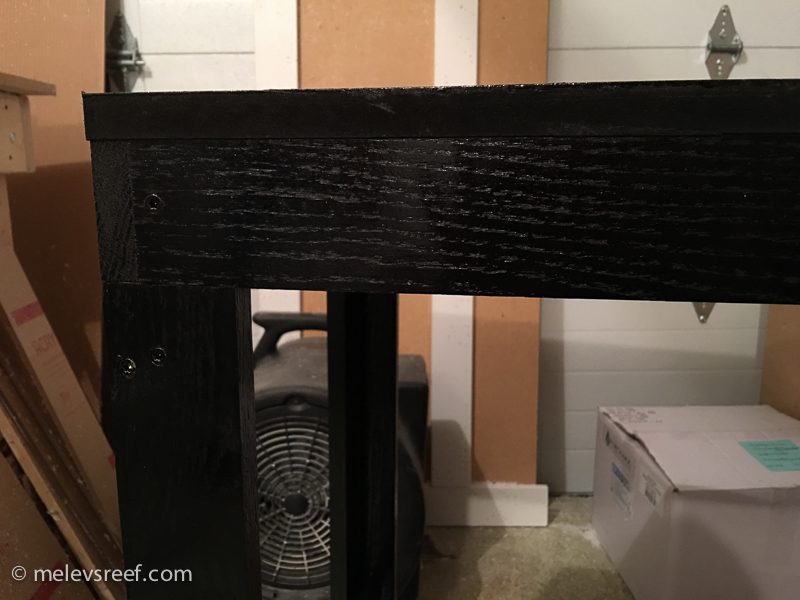
The red oak boards weren't uniform in thickness, requiring me to notch where the legs would butt up to the frame. In addition, since the concrete floor in the fishroom isn't perfectly flat, the legs were cut to be the proper height on all four corners.
A small block of oak is used to tie the legs to the top section, as you'll see below.
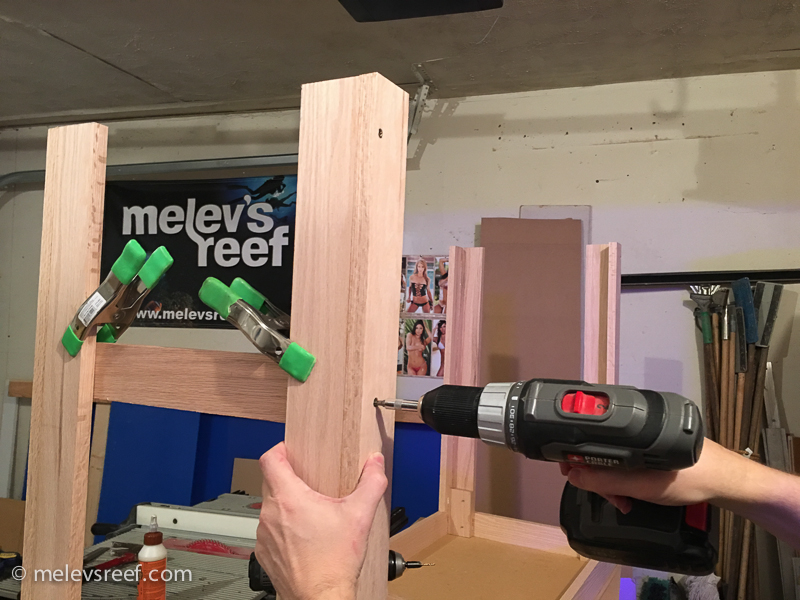
Each leg is L-shaped for strength. Glued and screwed, they are rigid and reliable.
The inner block of wood is glued and screwed securely. Then the leg is glued and screwed to the block. The weight of the top section will sit on the legs, and the rim of the frame is fully supported this way.
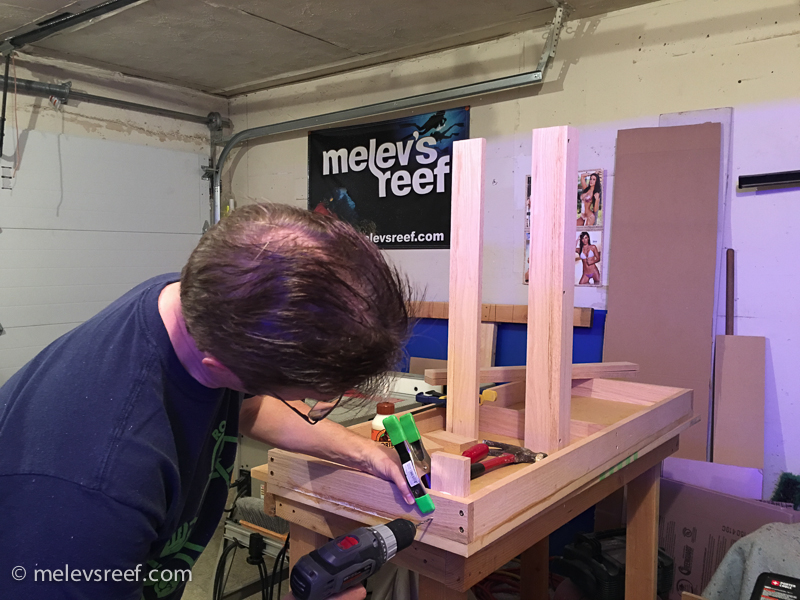


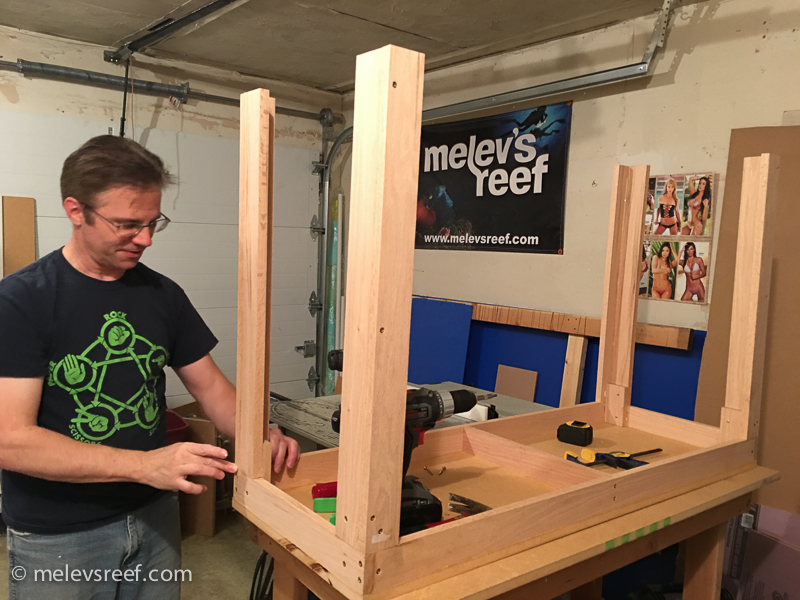
Once all four legs were attached, a couple of cross braces were installed as well.
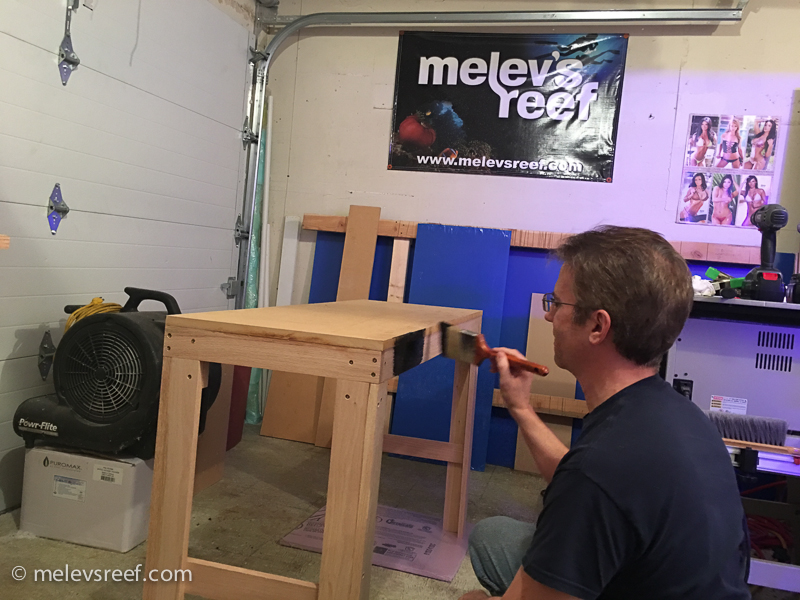
Once done, it was ready for the paint. At Home Depot, I discussed with the employee that this would be in a wet environment and she recommended glossy paint rather than flat, so that is what I used. The can was shaken at the store to mix it well, and with the matching 3" sash brush painting was done relatively quickly.
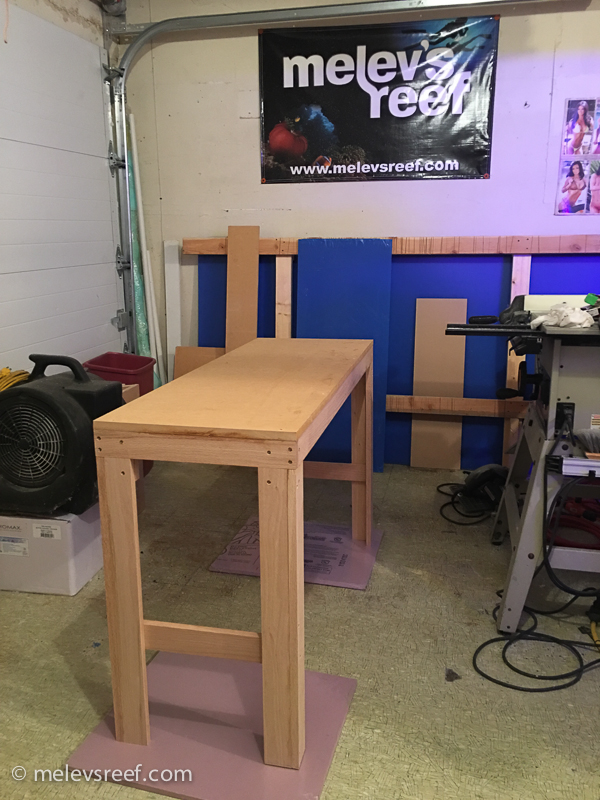
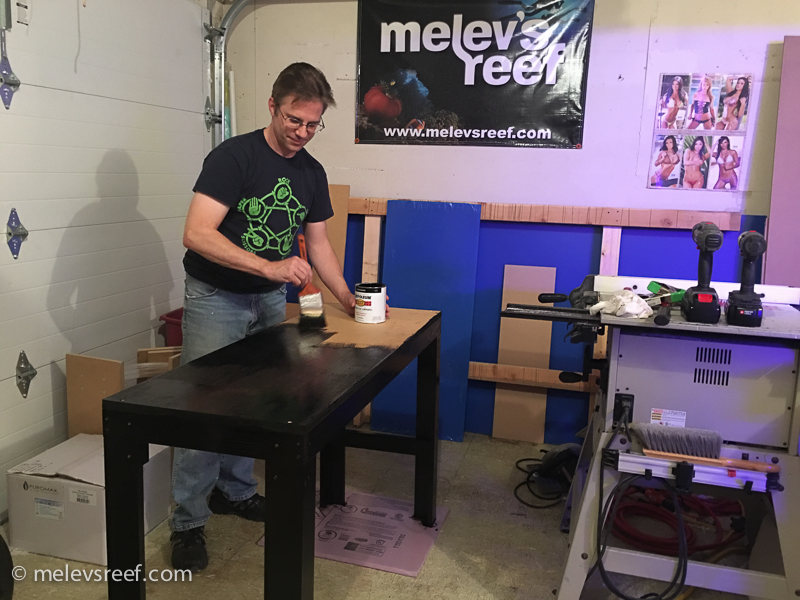
While not important, I like seeing the grain of the wood. The boards I'd picked were straight, and the entire project feels sturdy.
The next day, I flipped it over and painted the underside to protect it from water damage. The most important area is the MDF, so I've already given that two coats. The foot of each leg was well painted as well since they would be most likely to get wet. Additionally, I'll likely put a small piece of acrylic under each foot to lift the wood off the concrete in the fishroom as a preventative measure.