A modified Hexagon Tank & a cube-shaped Sump!

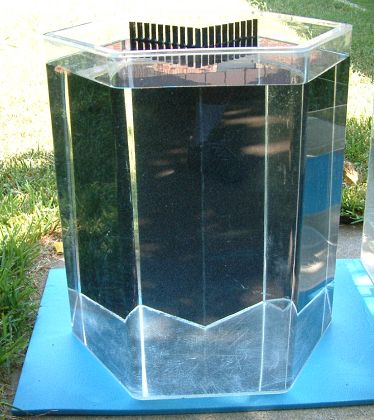
Glenn, a member of DFWMAS contacted me about a 34 gallon hexagonal tank he wanted to modify, and incorporate a sump with a refugium.

We built a stand and a new canopy which will allow him to add a Metal Halide bulb, and modified the acrylic tank so that it was reef-ready. I built an corner overflow box which was secured with Weld-On #3 and #16. Two bulkheads were installed - 1.25" drain and a .75" return.

The sump has a 10g refugium section to help provide microfauna and take up any nitrates in the water. He had a CPR Bakpak that I adjusted to fit the new sump. I removed the nylon adjustment screw at its base, and routed off the threaded piece of acrylic as well, so the skimmer could sit flat on the sump floor. Additionally, I welded on a small bracket to assure the skimmer would stay in place even if bumped.

This sump was built with 1/4" Acrylite FF using Weld-On #3, and #16 when necessary.


Glenn poses with his completed project. And left shortly thereafter, quite excited to get this tank running.
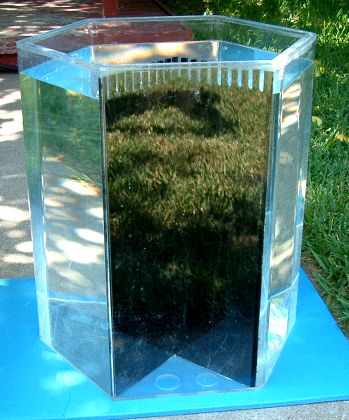
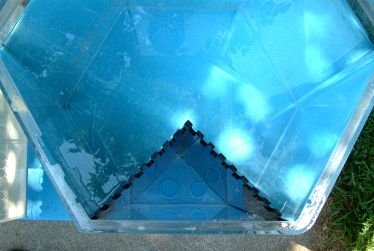
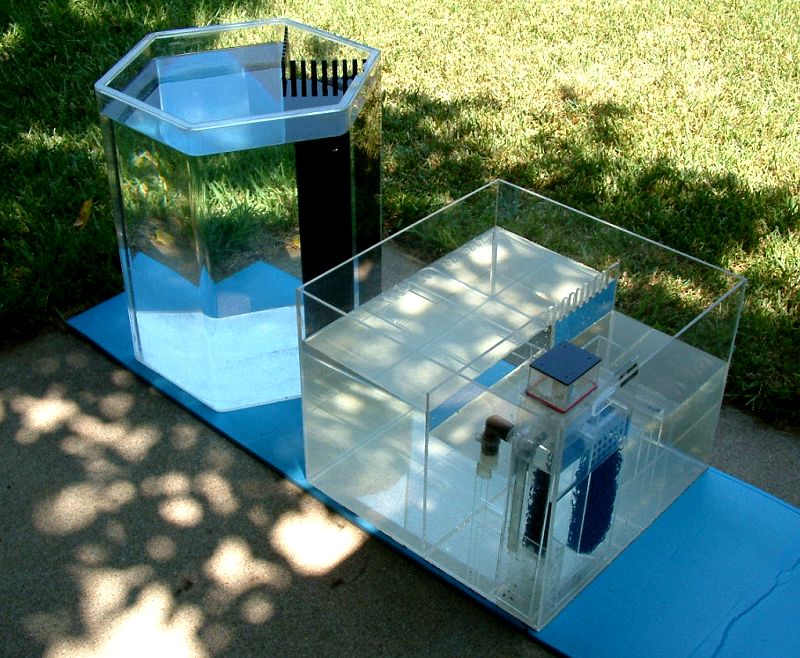
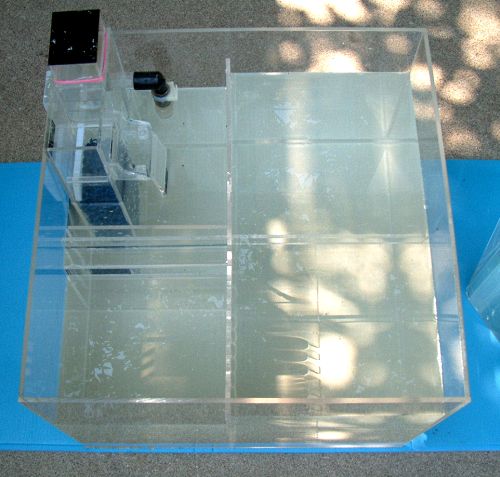
Clockwise from upper left:


Front of tank;
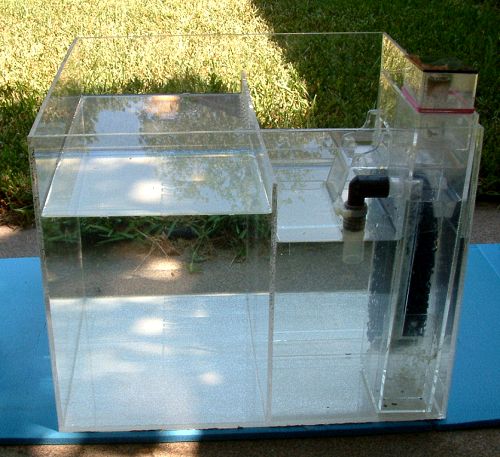
Rear of tank;
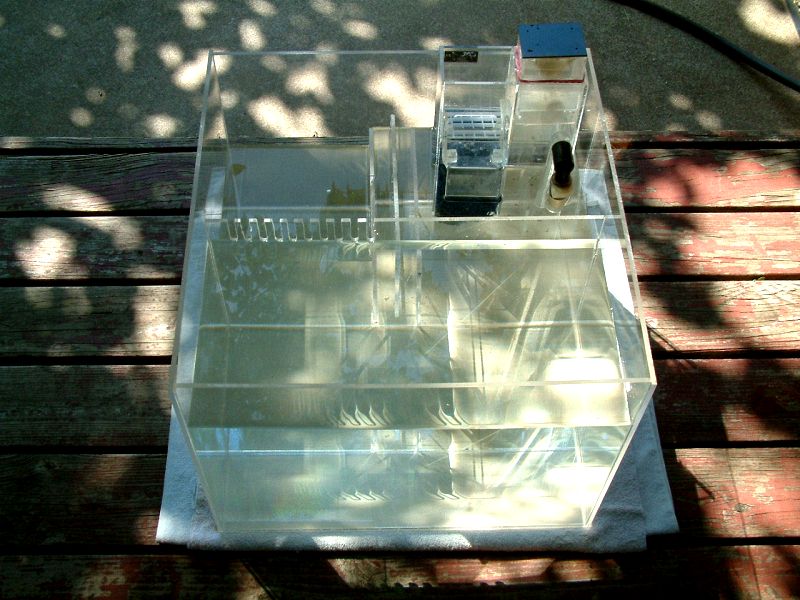
Top view with water only in display area.

Drilled holes visible in base of overflow chamber.


Dimensions
Outside dimensions
Inside dimensions
Input/Skimmer
Refugium
Return zone
Bubbletrap
20" x 20" x 16"
19.5" x 19.5" x 15.75"
9" x 9" x 10"
19.5" x 10.25" x 12"
9" x 9" x 9"
9" x 2" x 9"
27.7 gal
25.9 gal
3.5 gal
10.4 gal
3.2 gal
0.7 gal
Additional space holds up to 8.8 gallons


This project came out nicely, as you can see for yourself.

Top View. The CPR Bakpak is in the rear corner; the return pump will be in front of it. Water draining from the display tank will be split, with the majority of the water entering the skimmer section and only a portion entering the refugium, providing slower flow in that zone. The refugium is on the right hand side. No top bracing was added to this sump, only internal spacers to keep the sump rigid.

The 10g refugium drains via teeth (left side of partitian) into the return area.

Rear view of sump. The skimmer is held in place with a small acrylic bracket.
As water exits the skimmer, splashing shouldn't occur as the outlet touches the water.

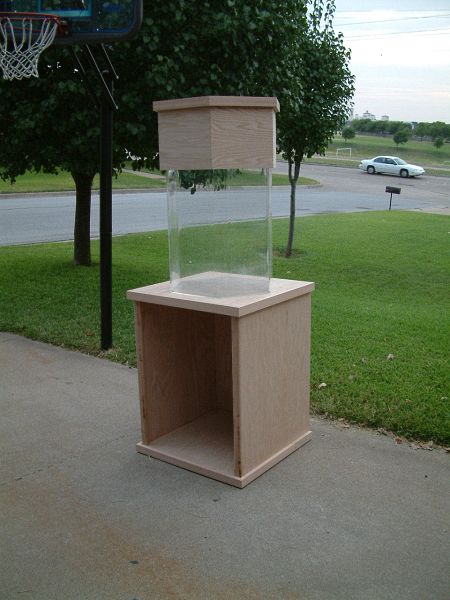
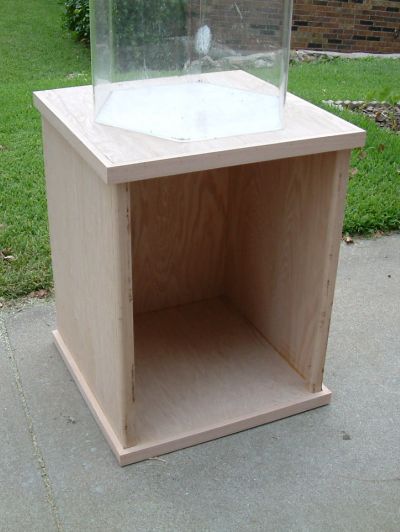
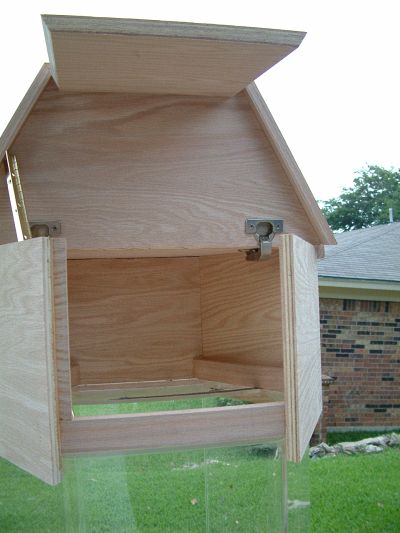
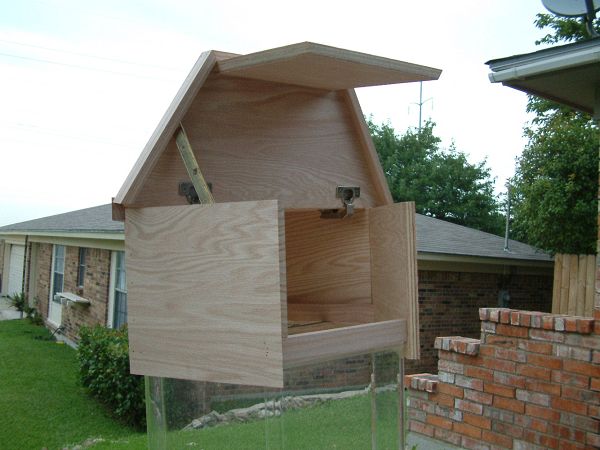
Here is the stand and canopy we built for the hex tank.
The sump will fit within the stand, and a black glass door will hide it.


This is raw wood, not sanded, stained or sealed yet. The plan is to white-wash it.

I have the canopy propped open with a brass hinge, but a wood dowel will do the job later.

Email Marc